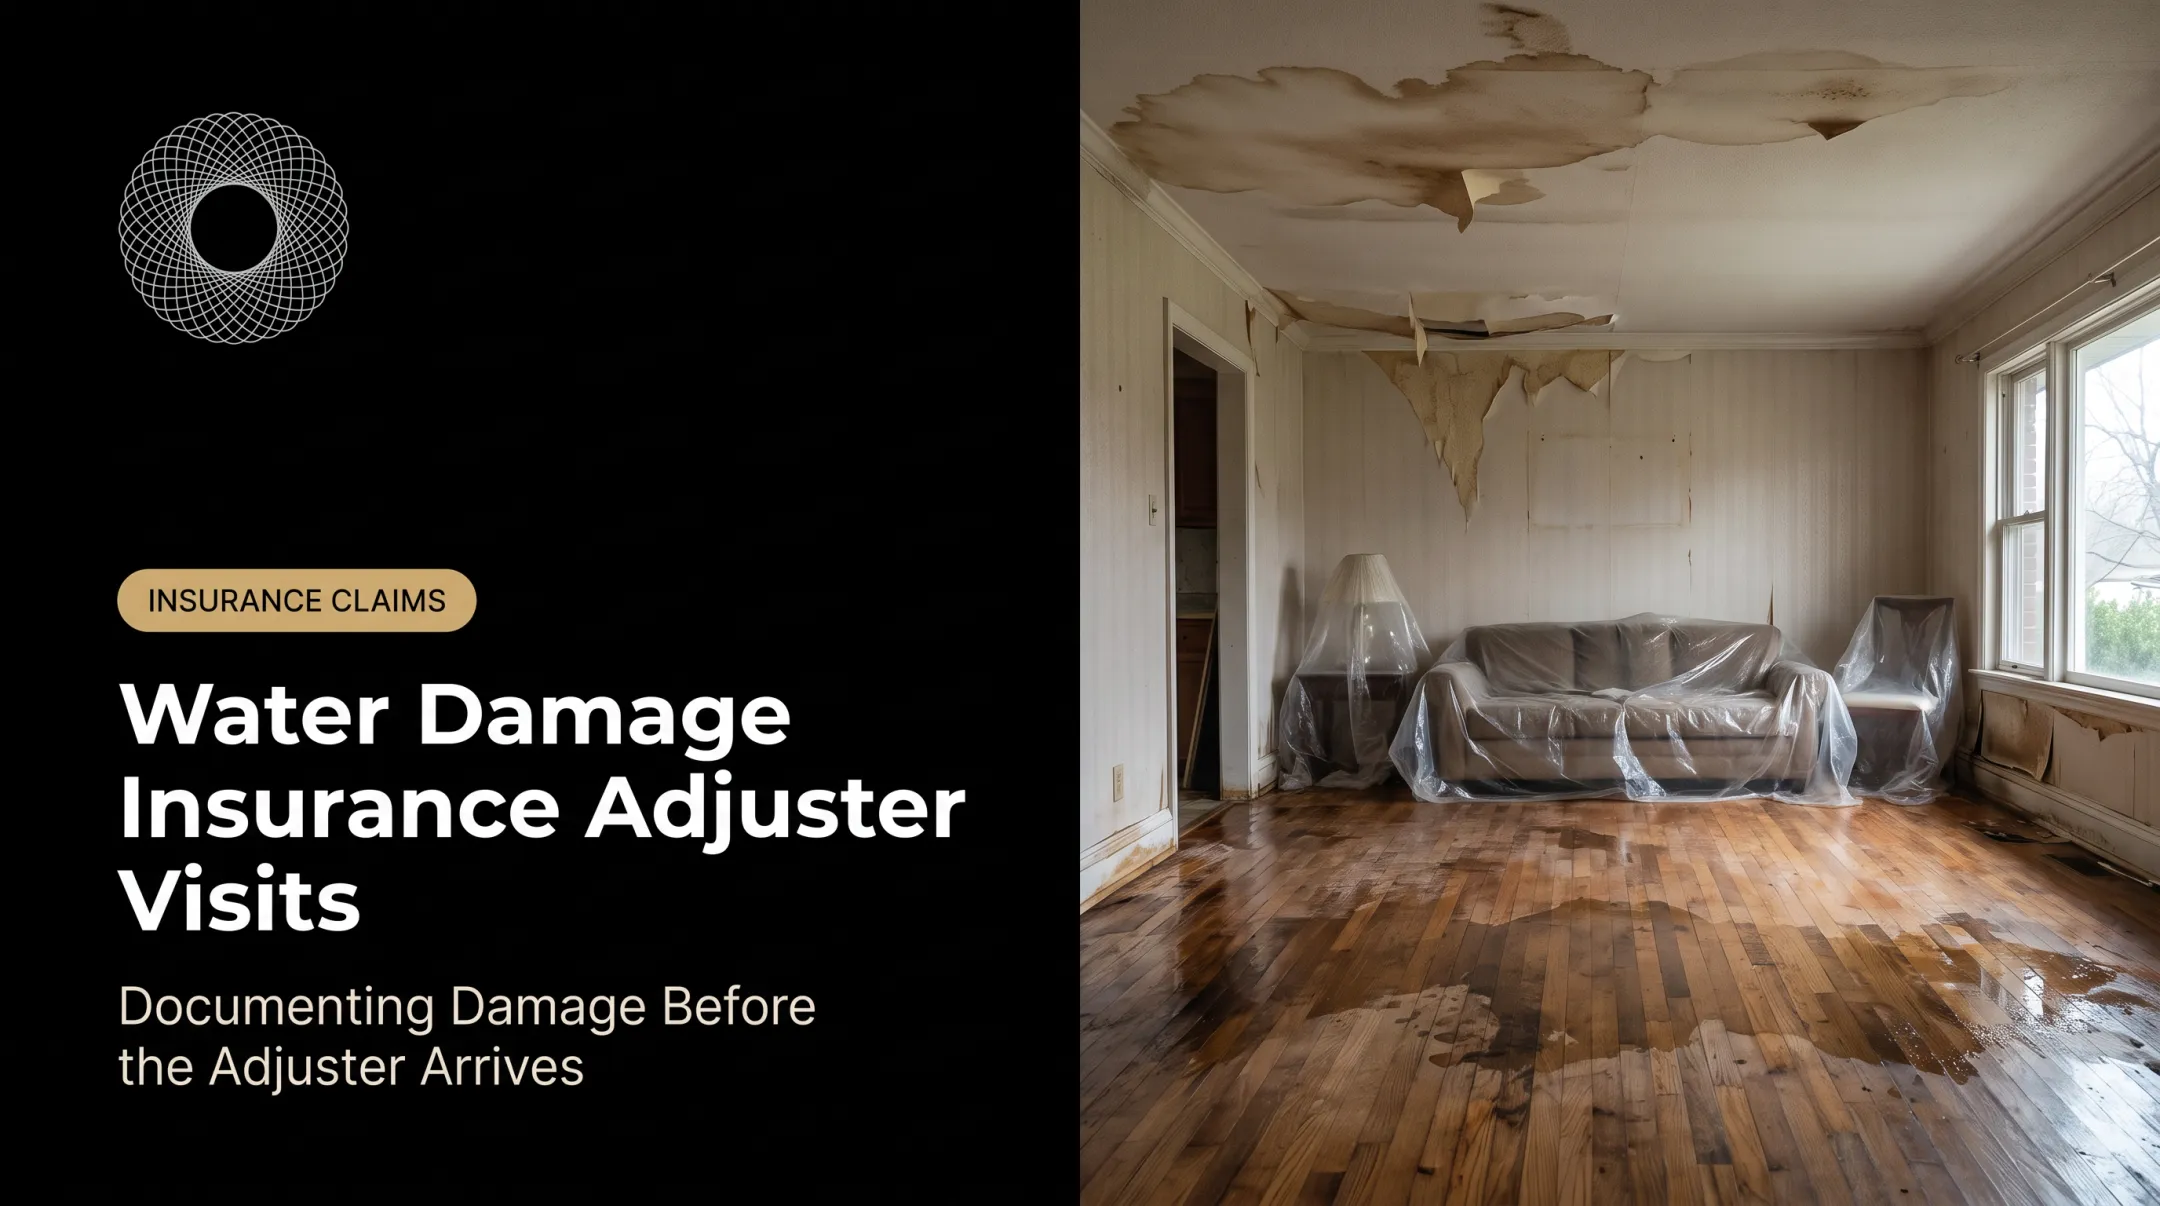
Water damage is common and expensive. According to Triple-I data, water damage and freezing claims averaged $15,400 from 2019 to 2023, and made up 22.6% of homeowners insurance losses in 2023.
A few phone pictures won't carry that weight. Timing, coverage, labels, measurements, safety, and preserved original files all decide whether a record holds up. This guide walks through making the site safe, recording damage, organizing evidence, coordinating with insurers, and avoiding common mistakes.
Key Takeaways
- Document as soon as it's safe, before removing, drying, or repairing anything nonessential.
- Shoot wide, medium, and close-up images with room labels and scale.
- Keep originals, notes, readings, receipts, and messages in one dated, backed-up folder.
- Record observations, and leave diagnosis to qualified professionals.
- Add a walkable 3D record when several parties need to review the property remotely.
How to Document Structural and Water Damage Before Repairs
Step 1: Make the property safe and establish the timeline
Safety comes first. The CDC advises a building-inspector safety examination before reentering a flooded home, and says never to operate electrical equipment while standing in water.
Check for:
- Sagging ceilings or unstable floors
- Exposed wiring or standing water near outlets
- Gas smells
- Sewage contamination
- Areas that could collapse
Leave unsafe areas and call emergency services or a qualified professional. Then write down the discovery date and time, the suspected source, weather or plumbing circumstances, when utilities were shut off, and when emergency mitigation began.
Step 2: Notify the right people before nonessential work
Contact your insurer, landlord or property manager, restoration company, plumber, or contractor as the situation requires. Ask what documentation, inspections, and mitigation steps your policy or agreement requires.
Keep a written log of:
- Claim numbers
- Calls, emails, and site visits
- Instructions, estimates, and invoices
- Approvals
Separate emergency actions that prevent further damage, such as tarping a roof, from elective demolition or permanent repair. Texas's insurance regulator, for example, distinguishes temporary protection from permanent repairs and asks you to keep receipts.
Deadlines vary. Flood claims under the NFIP require a signed proof of loss within 60 days unless FEMA grants an extension. That's NFIP-specific, so check your own policy and state rules.
Step 3: Capture wide, medium, and close-up evidence
Work from the outside in.
- Wide shots. Photograph the exterior and each full room to establish where the damage is.
- Medium shots. Show the affected wall, ceiling, floor, roof area, foundation, or fixture in context.
- Close-ups. Add a ruler or scale reference where safe. Capture stains, cracks, buckling, swelling, peeling, microbial growth, and water lines without altering the scene.

Photograph likely sources and pathways too: plumbing fixtures, appliances, roof penetrations, gutters, windows, drainage routes, and foundation walls. If an emergency opening exposes insulation, framing, subflooring, wiring, or pre-existing deterioration, record that as well.
Label every image with the room and a short description. Video walkthroughs help, and appliance make, model, and serial numbers are worth shooting, as Ready.gov's claims checklist recommends.
Step 4: Preserve, organize, and share the record before repairs
Save original files and never edit over them. Work on copies. Metadata such as date and location can help authenticate images, though it can be limited or altered, so keep originals untouched.
- Use consistent names, such as
20250614_Kitchen_CeilingStain_01 - Sort folders by property, room, date, and damage type
- Follow a 3-2-1 backup: three copies, two media types, one off-site
Pair images with a room-by-room written inventory covering what is visible, what is suspected, what changed after mitigation, and what's unknown. Add moisture readings or professional reports, and note who took each record.
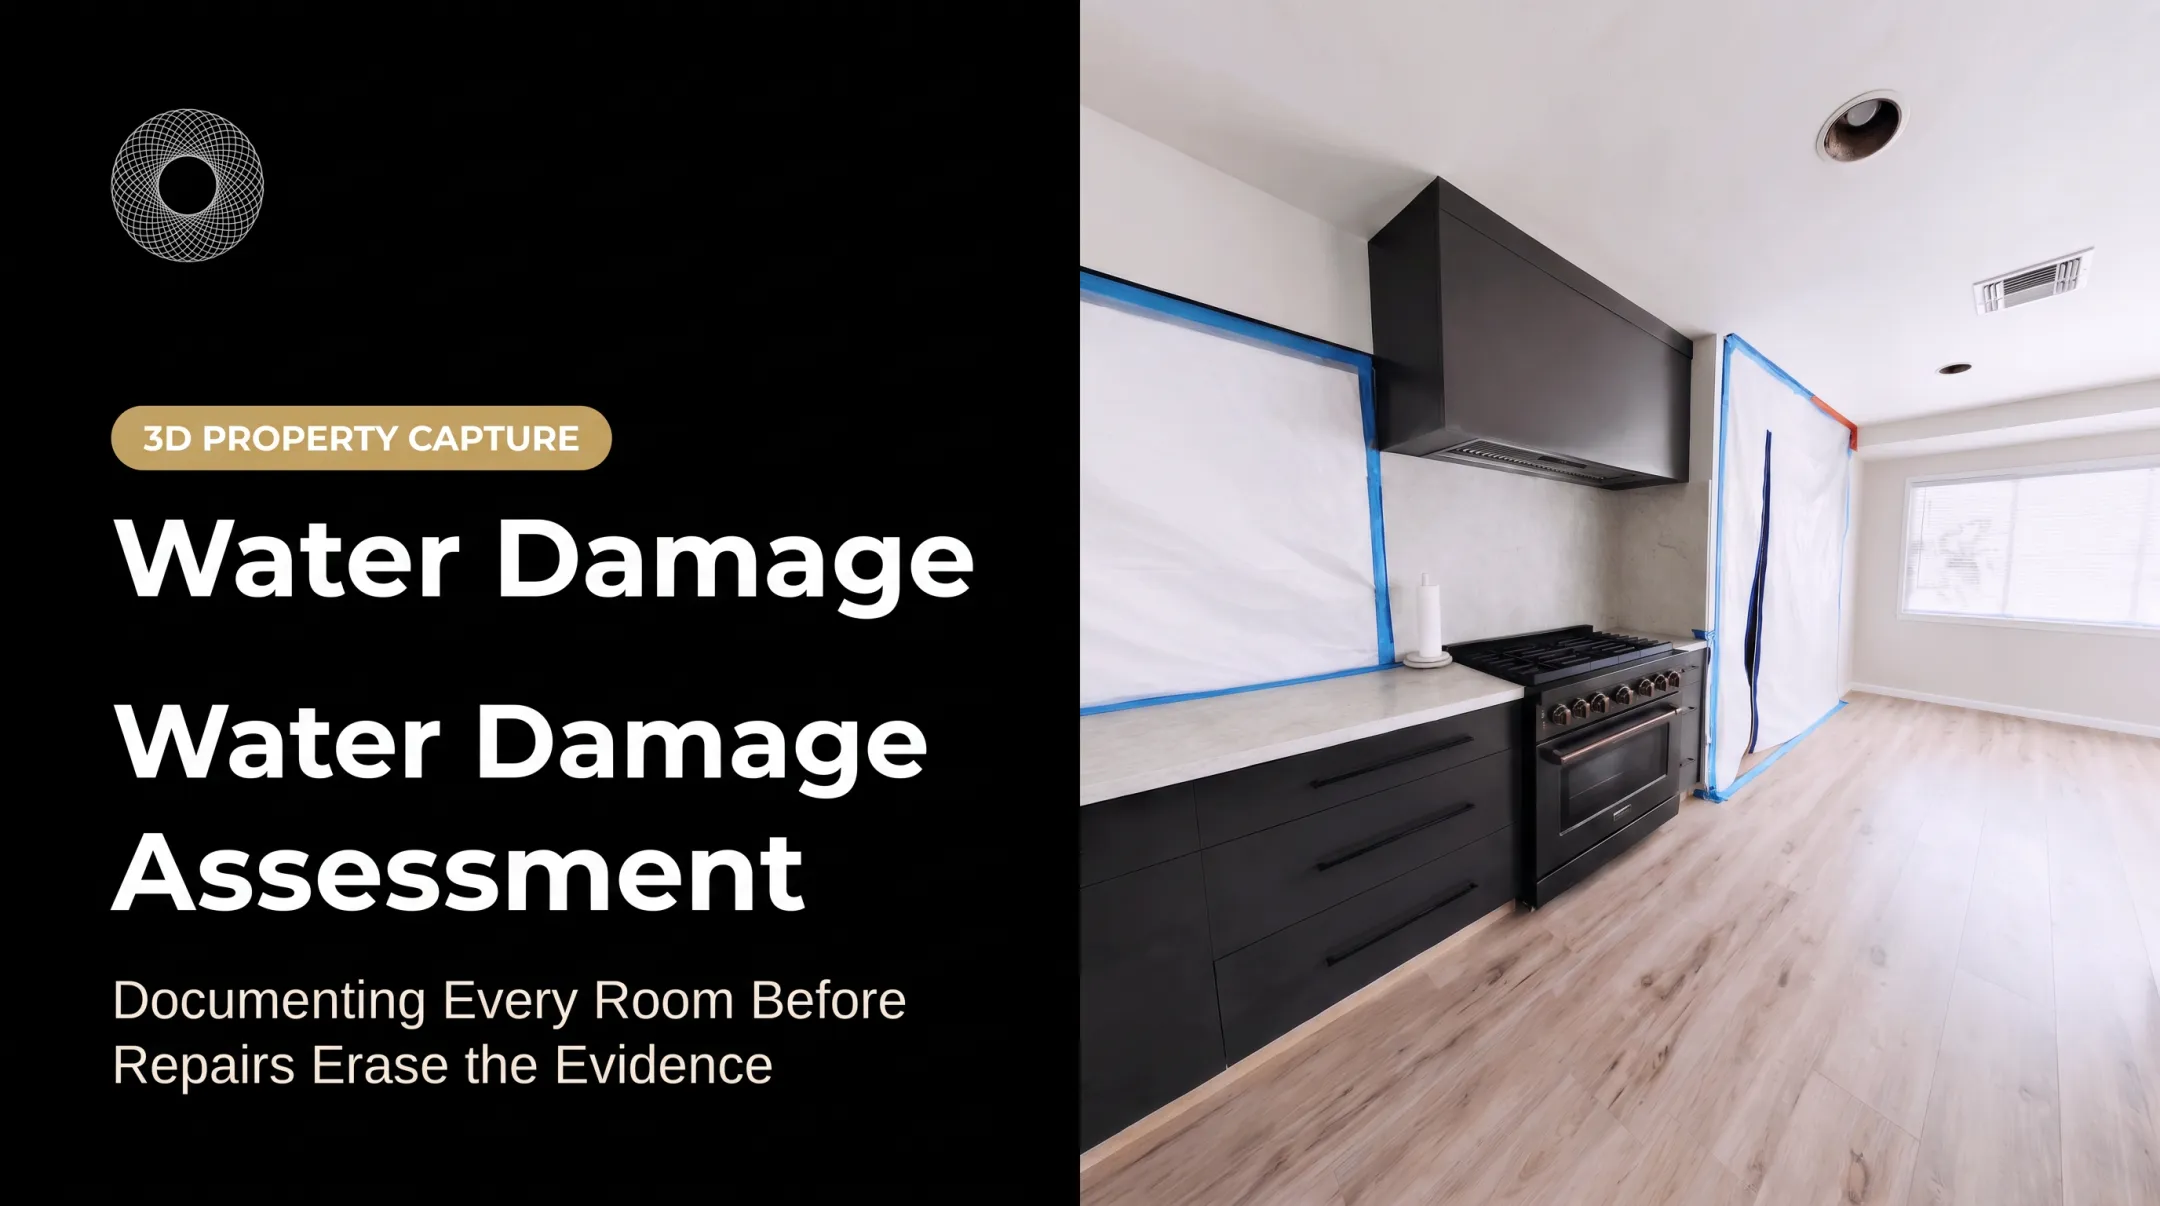
For complex properties or cases with many stakeholders, an interactive 3D record can supplement photos. Vroomk captures a walkable, measurable scan of every room and shares it through a private link, so adjusters, contractors, and attorneys can revisit the space without repeated showings. In one ceiling-collapse case, Vroomk arrived within a few hours and shared the scan in two days, before the insurer's crew removed the damaged materials.

Finally, build a before-and-after record: original condition, mitigation, demolition, drying, stabilization, and completed repair. Keep each stage separate and retain earlier versions.
When to Document, What You Need, and What Affects Evidence Quality
When should you document damage?
Make the first complete record as soon as the property is safe and before nonessential cleanup or repair changes it. If urgent mitigation is needed, document what's practical first, then record each intervention.
Prompt documentation matters for:
- Active leaks and flooding
- Storm and roof damage
- Suspected foundation movement
- Sagging ceilings or floors
- Visible mold or contamination
- Anything drying or reconstruction will hide
The EPA says to assume mold growth if a flooded home and belongings can't be dried within 24 to 48 hours.
What do you need before documenting?
- Charged phone or camera and a spare power source
- Flashlight
- Tape measure and ruler or scale marker
- Notebook and labels
- Protective equipment suited to the hazard
- Secure digital storage
A moisture meter is useful in the hands of a qualified person.
Before starting, verify:
- Policy deadlines and notice requirements
- Access rules and permits
- Local building-code obligations
- Any legal preservation instructions
How do you improve evidence quality?
- Use steady framing, good lighting, sharp focus, and visible scale.
- Repeat viewpoints and follow a logical path through the property.
- Avoid relying on cropped close-ups or messaging-app screenshots, which compress the file.
- Photograph unaffected areas for comparison, and gather pre-loss photos, inspection reports, or maintenance records, noting when each was created.
Separate observation from conclusion. Write "horizontal crack measured at about 1/4 inch" or "drywall staining visible below the window," not "foundation failure."
HUD's inspection criteria flag foundation cracks at least 1/4 inch wide and 12 inches long, but that's not a universal engineering diagnosis.
One image rarely proves cause or extent. A credible record connects location, condition, timeline, source, mitigation, and professional findings.

Professionals also use classifications you may see in reports:
- Category (1 to 3): contamination level of the water
- Class (1 to 4): how much water materials absorb
These terms aren't interchangeable.
Common Mistakes, Troubleshooting, and Alternatives
Common documentation mistakes
- Entering unsafe areas or operating electrical equipment in wet conditions
- Touching suspected asbestos or contaminated materials
- Removing structural components just to get a better photo
- Leaving files unlabeled or skipping wide shots
- Compressing or editing originals
- Failing to record emergency work
- Guessing at causes or what insurance will cover
- Discarding all damaged items, or retaining hazardous materials
On that last point, Ready.gov says to keep damaged items for the adjuster unless they pose a health hazard or local law requires disposal. Keep samples if you must dispose of items.
Troubleshooting incomplete or unclear evidence
If a photo lacks scale or location, retake it with a reference object and a wider view. Add a written description, and don't delete the original.
If damage has already been repaired or removed, gather:
- Contractor photos and invoices
- Material samples
- Moisture logs and permits
- Inspection reports
- Witness statements
- Prior property records
Alternatives to ordinary phone photography
| Option | Best for | Trade-off |
|---|---|---|
| Phone photos and inventory | Immediate visible record | No readings or calculations |
| Moisture mapping | Hidden wetness and drying progress | Needs consistent instruments and logged locations |
| Engineer or adjuster inspection | Cause, stabilization, repair scope | Takes scheduling and cost |
| Drone imagery | Roofs and hard-to-reach areas | FAA Part 107 rules apply |
| 3D spatial walkthrough | Remote review, measurements, shared reference | Doesn't replace engineering or insurance determinations |

Vroomk's 3D capture starts at $1.50 per square foot, with a +$499 emergency add-on, and serves Los Angeles, Orange County, and nearby areas. A 2025 AssureXR study of 3D claims documentation was a small prototype involving five questionnaire respondents. It reported occlusion and alignment drift, so treat spatial scans as a supplement, not as proof of concealed damage.
Conclusion
Good documentation starts with a safe property, records the condition before it changes, and adds every mitigation and repair stage to the same organized file. It shows what was observed, where and when, what action followed, and which conclusions came from qualified professionals.
Balance thorough evidence with urgent safety, required mitigation, privacy, and insurer coordination. Don't let a perfect record delay stopping further damage.
Frequently Asked Questions
How do you know if you have structural damage to your house?
Warning signs include large or growing foundation and wall cracks, sloping or bouncy floors, sagging roofs or ceilings, doors and windows that shift, and movement after water intrusion. Only a qualified professional can determine severity and cause.
What is considered structural damage to a house?
It's damage to load-bearing or stability-related parts such as foundations, framing, beams, joists, load-bearing walls, floors, and roof systems. Cosmetic damage, like paint or surface cracks, is different, though classification depends on the building and professional assessment.
What is considered damage to a property?
Property damage includes physical harm to the structure, systems, fixtures, contents, landscaping, or improvements. Document the affected item, its condition, the likely event, and whether the damage is visible or only suspected.
Is a roof considered structural?
Yes, a roof is part of a building's protective and structural system. Significance depends on what's affected: coverings and flashing are less serious than damaged sheathing, rafters, or supports that affect stability.
What are some examples of structural damage?
Examples include foundation movement, damaged beams or joists, compromised load-bearing walls, severely deteriorated framing, and sagging roof structures. Prolonged water intrusion can cause or worsen any of these.
Can structural damage to a house be fixed?
Often, yes. Many structural problems can be repaired or stabilized, but the right fix depends on cause, extent, design, safety, permits, and recommendations from qualified structural and construction professionals.