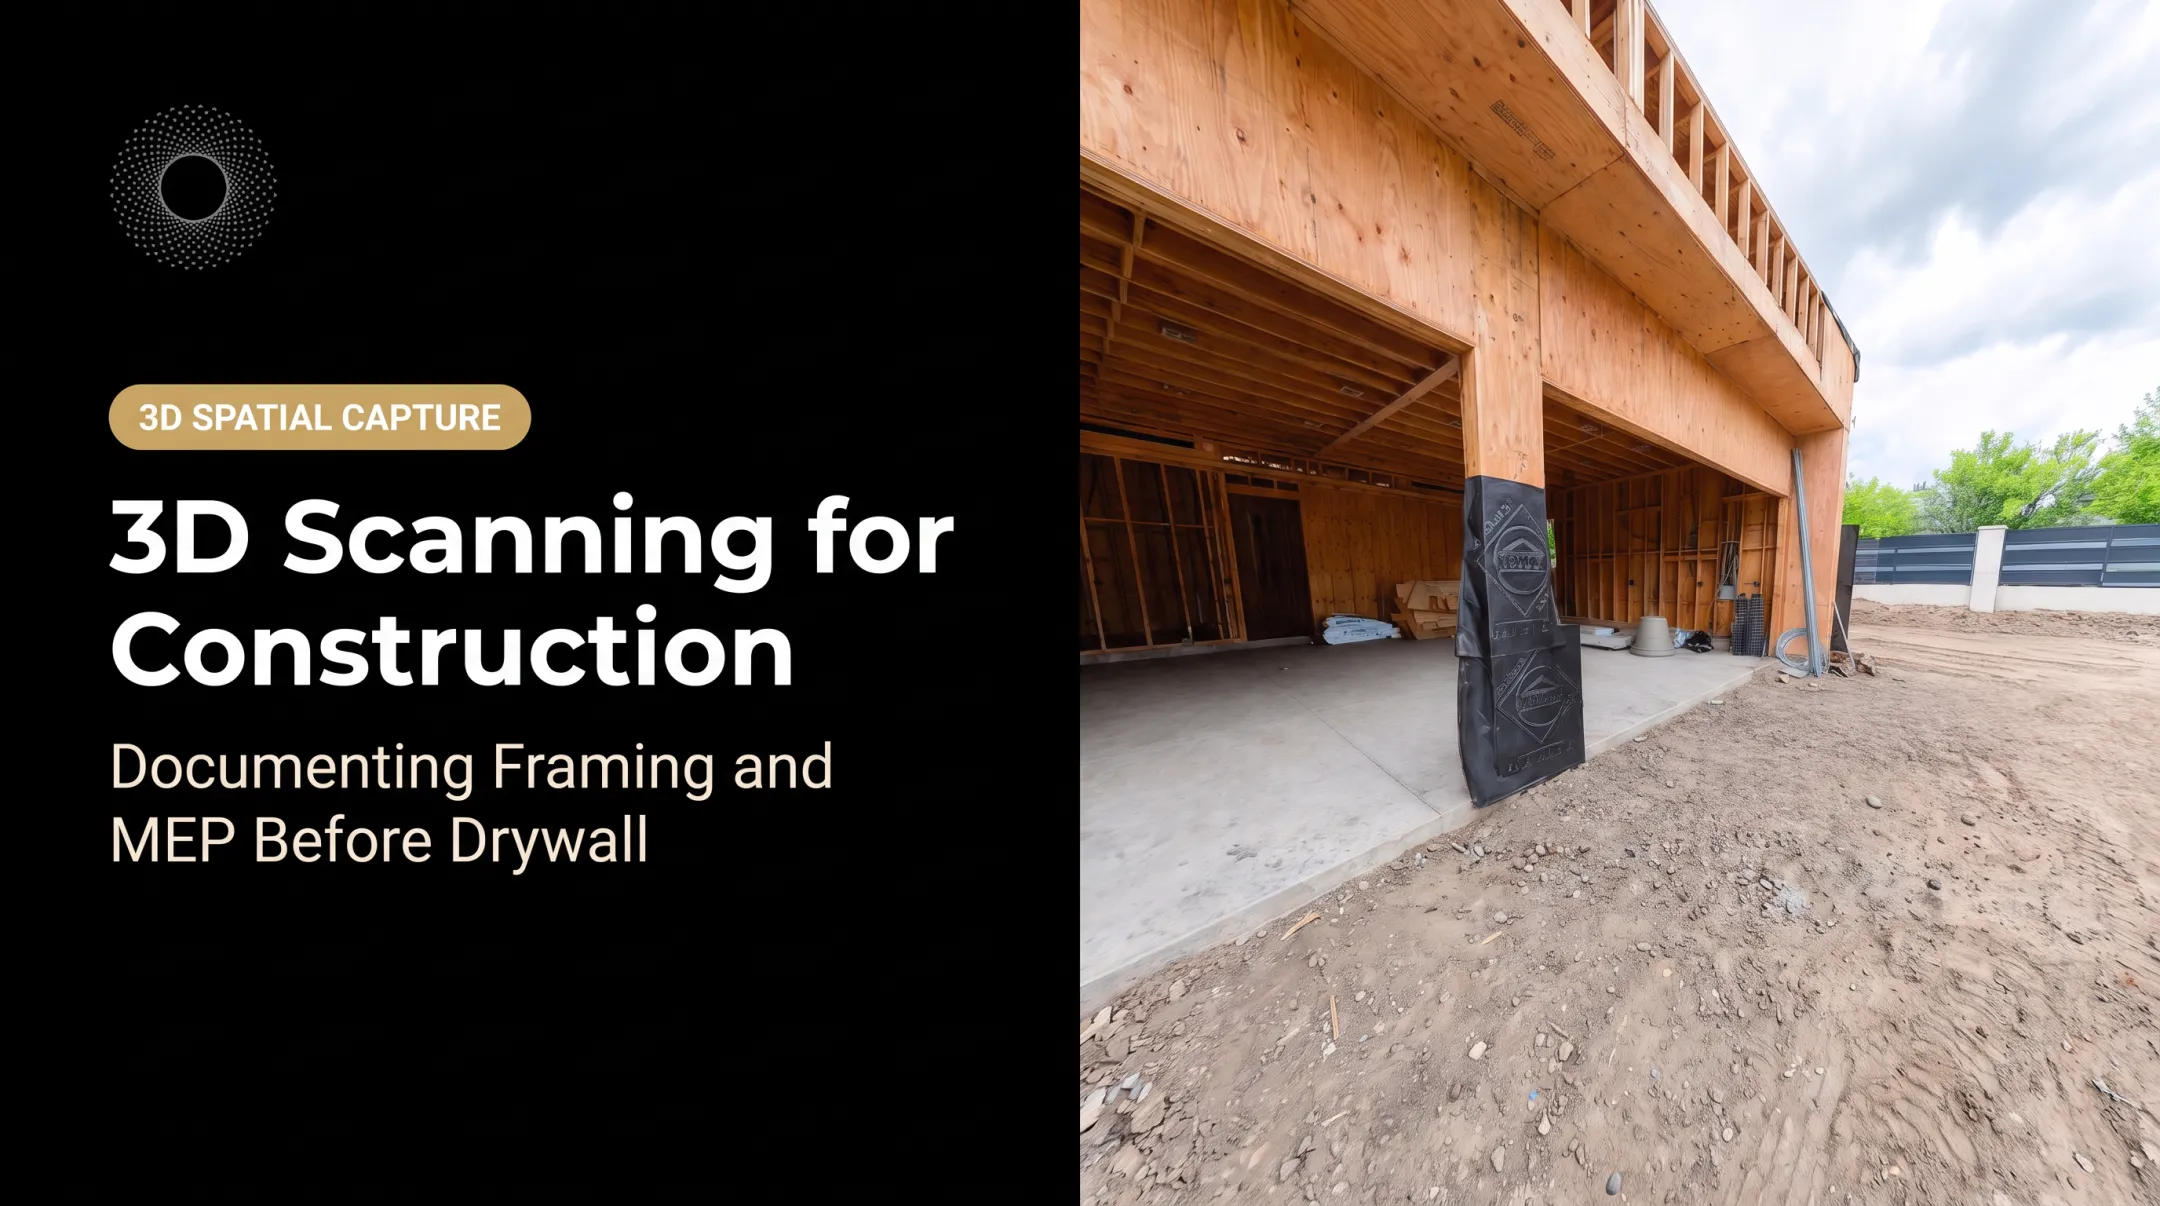
The cost of missing information is real. Autodesk and FMI estimate $88.69B in 2020 rework tied to bad data, which includes inaccurate, incomplete or inaccessible information. That is a global figure, not a framing-only loss.
Structural documentation is a coordinated record of visible conditions: photos, video, measurements, annotated plans and, where useful, interactive 3D capture. It preserves information. It does not replace inspection, engineering judgment or approval.
Key Takeaways
- Label every capture by level, room, grid, orientation and date.
- Shoot wide context first, then members, connections and penetrations.
- Compare field records against current drawings, RFIs and change orders before concealment.
- Keep original files, metadata and version history.
What to Document Before Close-In
Design intent versus field condition
A complete package mixes several record types:
- Structural and framing plans
- Field photos, video and measurements
- Inspection reports, marked-up drawings and RFIs
- Change documents and as-built records
Plans show what was intended. Pre-close-in records show what was actually visible on the day of capture.
Framing and load-path elements
Record what you can see, and only what you can see or have independently verified:
- Beams, columns, bearing walls, joists, rafters, trusses, headers, shear walls, bracing and posts
- Member sizes, spacing and bearing points
- Blocking, fasteners, connectors, hold-downs, anchor bolts and reinforcement
- Exposed slabs and foundations
Bellevue's structural plan requirements describe the same subjects: member sizes, spacing, supports, connections, blocking and the lateral load path.
Connections, openings and interfaces
Capture extra frames at transitions and openings:
- Beam-to-column connections, wall-to-floor interfaces and roof framing
- Foundation connections
- Sleeves, penetrations, notches and drilled holes
- Field modifications, embedded items and MEP routes
The 2021 IRC limits cuts and holes in solid-sawn joists, including no notches in the middle third of the span (R502.8.1). Check the edition your jurisdiction has adopted. A photo of a notch with its location is far more useful than a memory of one.
Conditions and deviations
Note visible damage, moisture, corrosion, cracking, missing components, incomplete work and anything that differs from the drawings. Describe it neutrally and tie it to a location. A documentation record is not a structural diagnosis unless a qualified professional has evaluated the condition.
Project and location context
Tag every image, measurement or scan with project, level, room or grid location, orientation, date and sequence.
Also record what you could not capture: blocked access, poor lighting, and the drawing revision used for comparison.
How to Capture Framing and Structural Conditions
Plan the capture window
Coordinate with the superintendent, owner, inspector, engineer and trades. Capture after the work is substantially complete but before concealment. Build a room-by-room checklist from current drawings, specs, RFIs, change orders and inspection requirements.
Mind the hold points. The 2021 IRC Chapter 1 requires framing inspection after bracing, firestopping and rough services are in place, and prohibits unauthorized concealment of noncompliant work. A stored photo is not that approval.
Establish orientation and scale
Start each area with wide views showing boundaries, access points, grid lines and your route. Then add scale: a tape, a familiar object, level markers or measured control points. AIA's guidance on site photography says to include a marked scale or familiar object when size matters, and to show defects from enough angles to read clearly.
Shoot wide to detail
Use the same order in every space:
- Capture overall context of the space
- Photograph each wall or elevation
- Document ceiling and floor conditions
- Record structural members in place
- Detail connections and penetrations
- Shoot labeled close-ups of critical conditions

Link close-ups to wide views through filenames, numbering or a capture map. An unlabeled close-up of a hold-down is nearly worthless six months later.
Pair images with measurements and notes
Record alongside each image set:
- Member sizes, spacing, clearances, opening dimensions, elevations, and offsets
- Concealed utilities traced where still visible
- A short note on what is shown, how it was measured, whether it matches the plan, and who must follow up
Where 3D capture helps
An interactive 3D walkthrough gives continuous room context, supports remote review, and lets reviewers measure and revisit a condition without another site trip. Vroomk's spatial capture, for instance, produces a walkable record with measurements and exportable stills.
Scans only record line-of-sight surfaces, so they cannot show what finishes already hide. Digital capture supplements required inspections, signed reports, and professional evaluation. It never replaces them.
A Repeatable Pre-Close-In Documentation Workflow
Phase 1: Define scope and prepare
- State the purpose, capture date, areas, responsible parties and deliverables
- Note access or privacy limits
- Set naming conventions, folder structure, drawing revision and location labels
- Write the checklist that keeps rooms from being skipped
Phase 2: Capture the field condition
Walk the planned route while everything is exposed. Go broad first, then progressively tighter. Use more than one form of evidence:
- Photos for detail
- Video for continuity
- Measurements for scale
- 3D capture for navigable context

Phase 3: Verify against project information
Compare the field record with approved structural drawings, architectural and MEP plans, specs, submittals, RFIs, change orders and inspection notes. Under AIA A201-2017 §3.2.2, the contractor reports inconsistencies found this way as an RFI.
Keep a discrepancy log with these columns:
- Location and observed condition
- Related document
- Coordination or safety concern
- Responsible reviewer
- Required action and status

Phase 4: Review and preserve
Confirm the package is complete:
- Every area was captured
- Files open correctly
- Labels make sense
- Measurements carry units
Keep untouched originals beside labeled working copies. SWGDE authentication guidance says to preserve originals and process copies. Log who reviewed the package and when.

Phase 5: Distribute and update
Share through controlled access. State clearly:
- Which files are reference only
- Which discrepancies remain open
- Which documents are current
Recapture after material changes, repairs or rework.
How to Make the Record Usable and Defensible
Organize for retrieval
Structure files so anyone can find them without relying on memory:
- Project, building, level, room or grid
- Date, capture type and revision
Filenames should identify location and sequence. Keep the source photos, video, scans, field notes and review history, not just the polished presentation set.
Run quality control before close-in
Have a second person check these items while the walls are still open:
- Coverage, focus and orientation
- Labels and measurement references
A missed bay can't be reshot later. Mark uncertain or inaccessible conditions plainly, and route discrepancies to the contractor, inspector, architect or engineer. Don't quietly fix the record.
Make it easy to share
A private, shareable spatial record lets owners, subs, inspectors, attorneys, adjusters and restoration teams look at the same condition without scattered messages. Vroomk offers interactive 3D documentation with walkthrough references, measurement, photo export and controlled links. Teams still need to retain required official records and professional reports.
Even with a solid spatial record, be honest about evidentiary value. Metadata can be missing or altered, and a hash only proves a copy matches its source. Authentication does not guarantee a record will be admitted or establish liability.
Who Benefits From Pre-Close-In Structural Documentation
Construction and design teams
Contractors, architects, engineers, and subs use the record to coordinate work and keep later phases on track:
- Align framing with MEP routes
- Verify field changes and answer RFIs
- Support close-in approvals, punch lists, and as-built updates
The record does not by itself confirm code compliance.
Insurance, restoration and legal stakeholders
Dated condition records help adjusters, restorers, owners, and defect attorneys understand what was visible before concealment.
FEMA's sheathing appeal shows the stakes: repairs hid flood-damaged sheathing, and the insurer denied the claim for lack of photos before FEMA overturned that denial. Keep descriptions neutral, preserve full context and original files, and control access.
Owners and future service providers
Retained records help with remodeling, drilling, electrical or plumbing work, and property transfer. One remodel scan located every wiring run, avoided drywall cuts, and saved thousands in repairs.
A record still reflects only one moment. Hidden conditions can change afterward.
Frequently Asked Questions
What are the main types of structural documentation?
Main types include structural plans and details, framing or as-built drawings, inspection records, photos, video, measurements, marked-up drawings, RFIs, and digital spatial records.
What are the four phases of construction documentation?
Terminology varies. A practical sequence is planning, field capture, verification and review, then preservation and distribution.
Can you give an example of a structural plan?
A framing plan shows beams, columns, walls, joists, openings, member sizes, dimensions, grids, notes, and references to structural details.
What should be documented before drywall is installed?
Document framing, connections, blocking, headers, shear walls, penetrations, visible utilities, discrepancies, and location context while they are still visible.
How do you document framing before close-in?
Use a planned wide-to-detail sequence with measurements, labels, grid references, and notes. Compare the record against drawings and keep the original files.
Is structural documentation a substitute for an inspection or engineer's approval?
No. It preserves visible conditions only. Required inspections, code officials, licensed engineers, and sealed plans still govern.