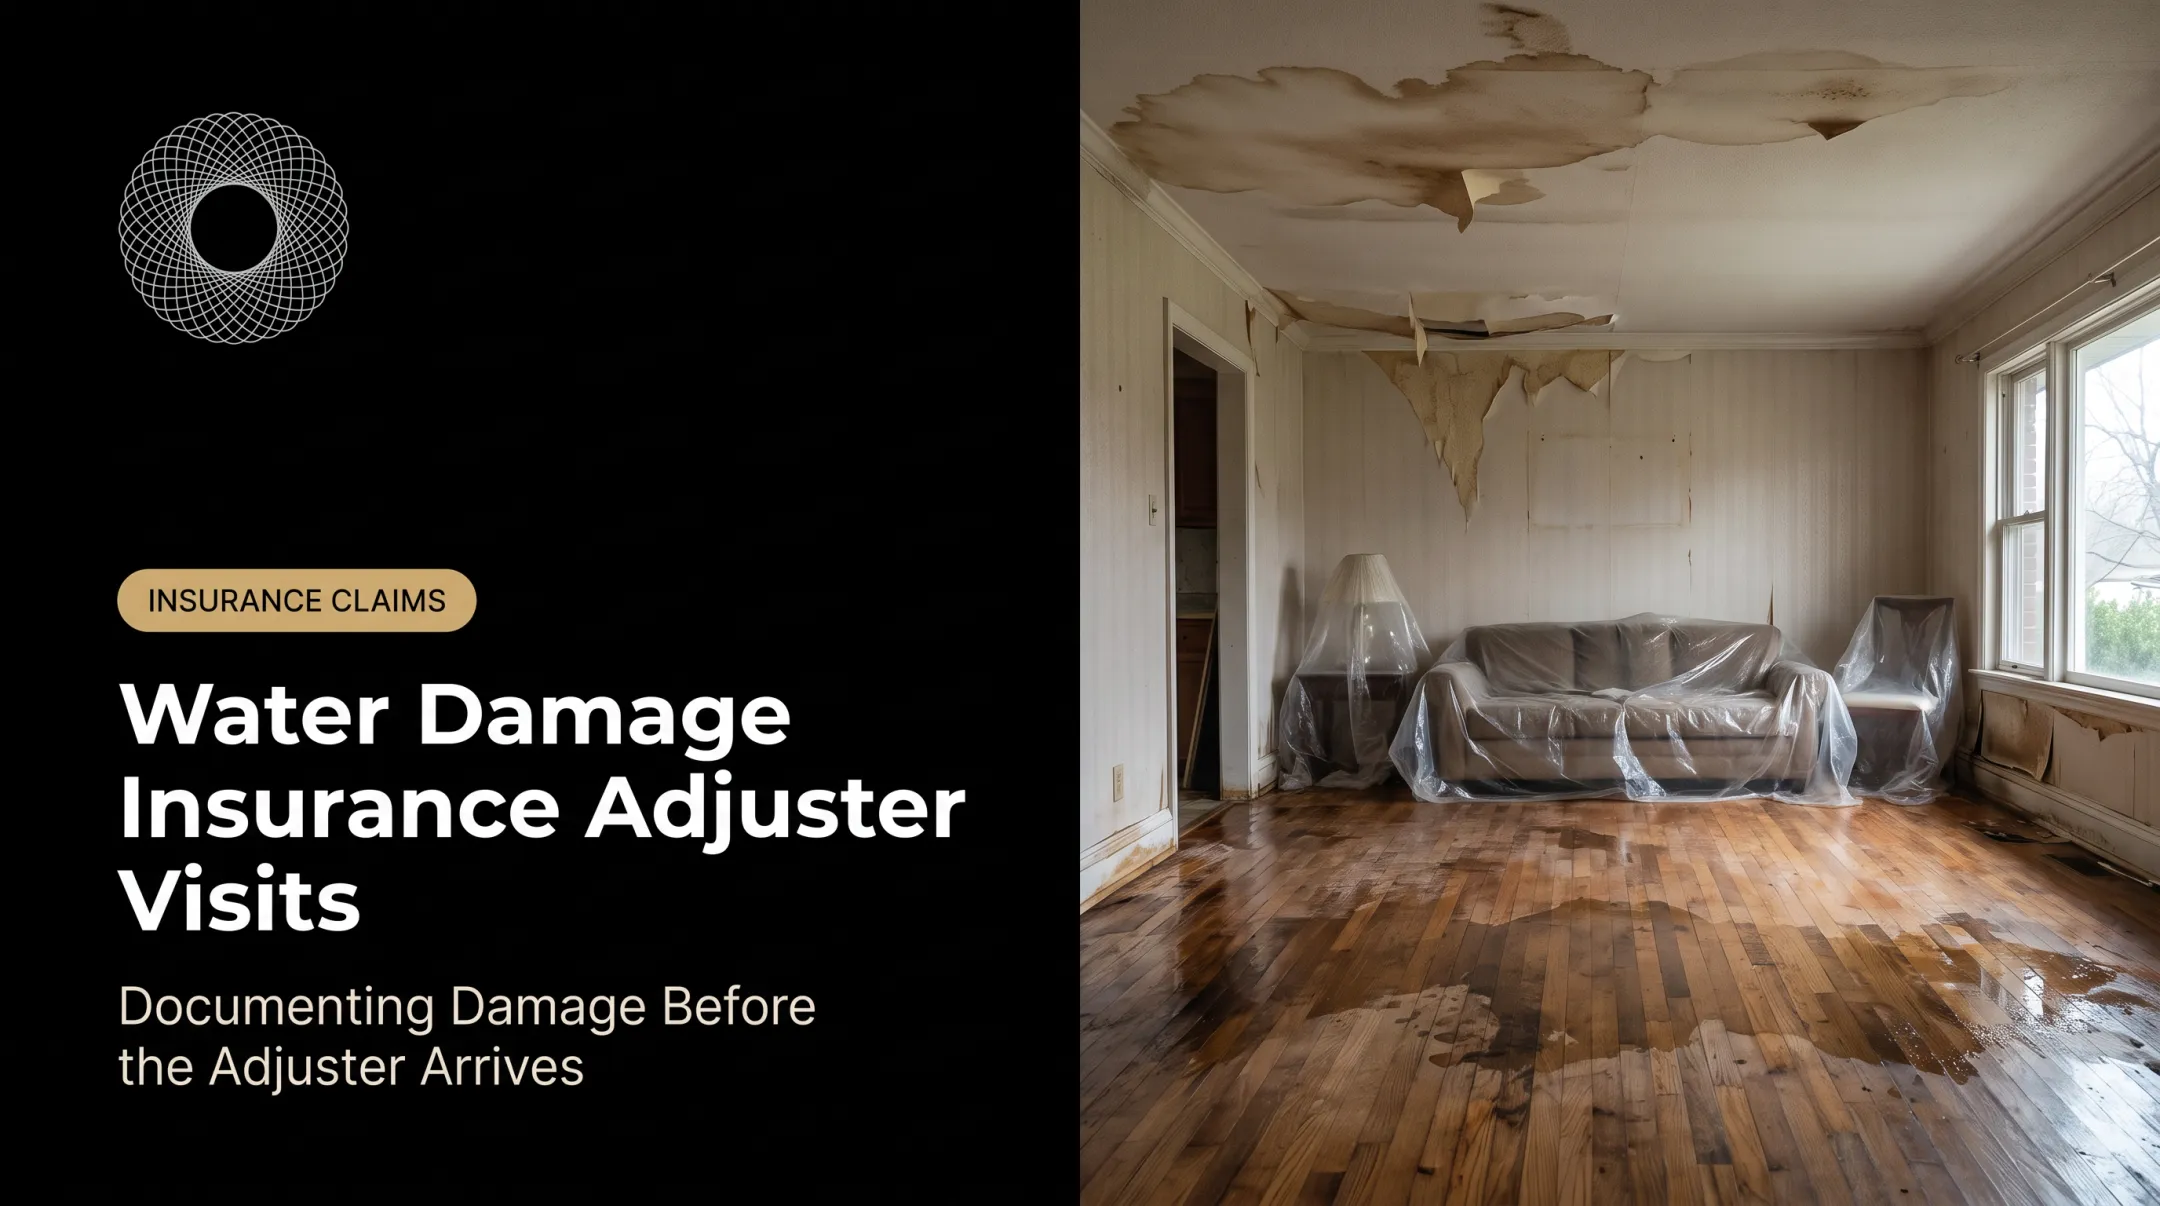
Introduction: Water Damage Assessment Starts Before the First Repair
Drying, demolition, repainting, moving furniture, and pulling up flooring all change what a room looks like. Once they happen, the stains, swelling, and wet-material boundaries that show where water traveled are gone.
A solid water damage assessment does more than locate moisture. It builds a room-by-room record of condition, source, affected materials, readings, and contents that owners, insurers, contractors, adjusters, and attorneys can all rely on.
Triple-I's 2019-2023 data puts homeowners property damage claims at 5.53 per 100 house-years, averaging $16,857. That figure covers property damage broadly, not water alone, but it shows how common and costly these losses are.
This guide walks through securing the property, setting a baseline, capturing every room, tying photos to locations and readings, and turning it all into a usable file.
Key Takeaways
- Photograph and record as soon as it's safe, before anything is removed or altered.
- Document unaffected and adjacent rooms too, so reviewers see the spread of the loss.
- Pair wide and close-up photos with room labels, timestamps, and moisture readings.
- Separate what you observed from what you only suspect.
- Log every change during mitigation and demolition, including what was found underneath.
Start with Safety, the Water Source, and a Pre-Repair Baseline
Establish safety before collecting evidence
Safety comes first. FEMA advises checking for damaged power or gas lines and structural damage before entering. Keep main power and water off until the site is verified safe, and never use electrical tools while standing in water.
Watch for:
- Electrical exposure near wet outlets, panels, or appliances
- Sagging ceilings and unstable floors
- Standing water that may be contaminated
- Gas or chemical odors
If a building may be unsafe, wait for an inspector or authority to clear it.
When it is safe to do so, shut off the incoming water valve for a burst pipe or appliance leak and write down what you did. If you can't find or stop the leak, call a plumber and keep the failed component.
Record the inspection context
Start the file with basics:
- Property address and owner or claimant
- Date, time, and who is documenting
- Suspected event and relevant weather
- Work already completed
Also note whether each room was accessible, occupied, already cleaned, or altered before you arrived. Later reviewers need to know the limits of the record.
Establish a baseline before repairs change the scene
Don't photograph only the obvious damage. Capture the exterior or likely entry point, the path water took, adjacent spaces, and rooms that look fine.
Urgent mitigation sometimes can't wait for a full survey. If so, record the condition at first contact, note what changed before you captured it, and keep any photos, videos, work orders, or witness accounts that exist.
Minnesota Commerce advises photos or video before cleanup. Maryland's regulator advises documenting before, during, and after temporary repairs.
Use a Room-by-Room Assessment Checklist
Build a complete room inventory and route
Walk the same route every time. Cover every space the water may have reached:
- Bedrooms, bathrooms, kitchens, and living areas
- Hallways, closets, laundry, and utility areas
- Attics, basements, crawlspaces, and garages
- Exterior areas touched by the source
Label rooms consistently. Mark any space that was inaccessible, uninspected, or found dry, so a blank doesn't look like an omission.
Capture wide, medium, and close-up views
- Wide shots show the room and how damaged areas relate.
- Medium shots isolate the wall, ceiling, floor, fixture, or contents.
- Close-ups show stains, swelling, delamination, microbial growth, or damaged finishes.
Put a room identifier in the file name, caption, or log. An image nobody can place is nearly useless a year later.
Record every affected surface, material, and content item
Document each affected element and note material type, visible condition, and where the damage starts and stops:
- Ceilings, walls, floors, and trim
- Cabinetry, built-ins, appliances, and fixtures
- Insulation and structural elements
- Personal or business contents
Record whether an item was moved or removed, and whether the damage appears tied to the reported event or is undetermined.
Pair visible evidence with moisture readings
A number without a location means nothing. Tie each reading to the room, surface, material, and exact spot.
Massachusetts guidance recommends reading the suspect material and the same material somewhere not suspected to be wet, then a second reading about three feet away. Log:
- The instrument used
- Reference readings from unaffected material
- Date and time
- Limitations that could skew interpretation
Thermal images are leads, not measurements. InterNACHI recommends verifying a suspected anomaly with a moisture meter. Acceptable thresholds vary, so rely on a qualified professional and current standards such as IICRC S500 rather than a rule of thumb.
Revisit rooms at key milestones
Build a photo sequence across these stages:

- Initial condition
- Extraction and drying
- Demolition
- Concealed conditions once materials are opened
- Completed repairs
- Final state
Keep original files untouched and add new observations as separate entries so later images never blur the pre-repair record.
Create a Spatial Record That Survives Demolition and Drying
Why ordinary photo folders may not be enough
A folder of disconnected images doesn't show how rooms, walls, floors, fixtures, and damage boundaries relate. A spatial record does. Remote reviewers can understand the site without repeated visits, and teams can compare the same spot before and after work.
Capture the full property before intrusive work
Get a continuous walkthrough or equivalent before anyone cuts drywall, pulls flooring, removes cabinets, discards contents, or covers damaged surfaces. Include outlets, fixtures, visible utility routes, access points, and room transitions that matter for repairs or later disputes.
Add measurements and evidence references
Link room annotations to photos, moisture readings, sketches, damage boundaries, source locations, removed materials, and notes on areas you couldn't inspect. Measurements help later teams plan work, compare dimensions, and avoid cutting into finished drywall unnecessarily.

Preserve originals, access history, and neutral notes
- Keep original photos, videos, scans, notes, and exports
- Record capture dates and revisions
- Never edit the only copy of an image
- Use a clear file-naming convention and permission-controlled sharing
NIST guidance on digital evidence describes documenting a file's source and history and using hashes to confirm a copy matches the original. These are general practices, not water-loss requirements. Good documentation supports a review, but it doesn't automatically establish admissibility, causation, or liability.
Where Vroomk fits
Vroomk creates interactive 3D walkthroughs of physical spaces. Each capture can include:
- In-space measurements
- Export of thousands of stills
- Private shareable links for owners, adjusters, contractors, restoration teams, and counsel
Its insurance documentation service covers existing or demolished spaces. Emergency capture is available within 24 hours in Los Angeles and Orange County.
One homeowner whose ceiling collapsed reported that the team arrived within hours and captured everything before the insurer's crew removed the damaged ceiling. The private link arrived in two days, and the homeowner forwarded it to an attorney.
Vroomk records the space. It doesn't replace a safety assessment, moisture professional, licensed trade, insurance determination, or legal advice.
Translate Documentation into Insurance, Legal, and Repair Decisions
Structure the report so another reviewer can follow the loss
Use this order:
- Property and inspection context
- Safety findings
- Suspected source
- Room-by-room observations
- Moisture and environmental readings
- Water category or damage class, only when professionally determined
- Photos and spatial references
- Contents, limitations, and next steps

Open with a short summary of urgent hazards and affected areas. It shouldn't replace the detailed log or original files.
Separate observations, interpretations, and unknowns
"Water staining observed on the ceiling" is an observation. "The pipe failed last month" is a conclusion. Keep them apart. Label each of these clearly:
- Suspected causes
- Unverified reports
- Inaccessible areas
- Information supplied by occupants or third parties
Connect the record to scope and repair decisions
- Tie every proposed action (extraction, drying, demolition, replacement, testing) to a documented condition and location
- Record why materials were judged salvageable, removed, or in need of further evaluation
- Capture concealed conditions right after demolition, before anything is covered or discarded
Prepare for insurance and dispute coordination
Claim files commonly include:
- Photos and videos
- Readings
- Invoices and work orders
- A communications log
- A mitigation timeline
California's regulator advises keeping a log of calls and correspondence. Deadlines vary: North Dakota, for one, sets proof of loss at 60 days from the insurer's request. Check your policy and state rules.
With adjusters, stay accurate. Don't guess at fault, overstate damage, or speculate on timing. Correct mistakes promptly.
Share one consistent record
Send owners, adjusters, restoration pros, contractors, inspectors, and attorneys the same dated record through a controlled link, not competing photo folders.
Protect privacy around occupant information, personal contents, and security-sensitive areas. Note when revised findings or scopes go out.
Frequently Asked Questions
Who do I call to assess water damage?
Start with your insurer and a qualified water damage restoration professional. Add a plumber or roofer for the source, an environmental professional for contamination concerns, and an attorney if a dispute develops.
How do inspectors check for water damage?
They combine visual inspection, room-by-room documentation, moisture meters, thermal imaging, humidity readings, source investigation, and structural review, recorded in photos or spatial captures.
How do I prove water damage?
Proof usually rests on dated photos and videos, room logs, source records, moisture readings, reports, invoices, and timelines. No record guarantees a particular insurance or legal outcome.
What should I not say to an insurance adjuster about water damage?
Don't speculate about cause, timing, responsibility, or repair scope. Answer accurately, separate fact from uncertainty, keep your records, and seek professional or legal guidance when needed.
What should be documented before water damage repairs begin?
The source, overall condition, every affected and adjacent room, structural materials, contents, damage details, moisture readings, room locations, and any work already done.
Can a 3D walkthrough replace a professional water damage inspection?
No. It strengthens visual and spatial records, but hazard assessment, moisture testing, source diagnosis, restoration expertise, insurance review, and legal advice still require qualified people.