That gap matters. Triple-I data shows homeowners filed 1.50 water-damage-and-freezing claims per 100 house-years from 2019 to 2023, at an average of $15,400 per claim, per Triple-I's homeowners statistics.
This guide covers what to do before the adjuster arrives: safe mitigation, photos and video, inventories, receipts, timelines, and preserving evidence. Safety comes first. Documentation does not guarantee coverage, and you should follow your insurer's reporting and inspection instructions.
Key Takeaways
- Stop the water and avoid electrical, structural, and contaminated-water hazards before documenting.
- Shoot wide, medium, and close-up photos and video before moving or discarding anything.
- Keep a timeline, room-by-room inventory, receipts, and every communication with the insurer.
- During the visit, stick to documented facts, and request written follow-up.
What to Do Before the Adjuster Arrives
Stop further damage without putting yourself at risk
Shut off the water source only if you can reach it safely. If not, call a plumber or emergency service. Don't step into standing water near outlets, appliances, or an electrical panel.
NAIC's post-disaster guide advises waiting for authorities to confirm it is safe where electrical or gas hazards exist.
Treat sewage or backflow water as hazardous. The IICRC describes Category 3 water as grossly contaminated, and it can carry harmful agents. Let professionals handle it.
Separate temporary mitigation from permanent repair:
- Do: remove standing water, tarp or protect exposed areas, start drying
- Don't: rebuild, replace flooring, or discard materials before the insurer has weighed in
Keep every receipt for emergency work.
Insurers may not pay for repairs they didn't authorize, so call the claims line early and ask what they expect.
Preserve the condition of damaged property
Photograph rooms, materials, appliances, and belongings before moving them. If something must go for safety or mitigation, record where it sat and what it looked like first.
Keep what you can:
- The failed supply line, valve, or appliance part
- A cut-out section of wet drywall or flooring
- Labeled bags or tags noting room and date
If an item is a health risk, photograph it, keep a sample, and then dispose of it.
Record the source and timeline while facts are fresh
Write a dated account now, not next week:
- When you discovered the damage
- What was happening beforehand (a dishwasher cycle, a freeze, heavy rain)
- The suspected source
- When the water was stopped
- Who did emergency work, and when
Mark each entry as confirmed or assumed. "The plumber said the supply line split" is a different statement from "I think the line split."
How to Document Water Damage Thoroughly
Photograph and video from wide views to close details
Use the same sequence in every room:
- Exterior and full-room shots from each corner
- Walls, ceilings, floors, cabinets, fixtures, and contents
- Close-ups with a ruler or familiar object for scale
Narrate your video walkthrough. Say the room, what you see, and where the water traveled. Describe, don't diagnose: "stain spreads 3 feet from the vent" is useful, and "this is clearly a covered loss" is not.

Show context, direction, and overlooked areas
Show how damage connects across the property:
- Ceiling stain below an upstairs bathroom
- Swollen baseboards
- Flooring transitions
- Path between levels
Don't open finished walls or ceilings just to hunt for hidden damage. Photograph visible signs, and keep moisture readings, drying logs, and inspection reports from qualified professionals. Public IICRC materials don't prescribe a universal log format, so ask your restoration company what it records.
Build a room-by-room contents inventory
For each damaged item, record:
- Description, brand or model, and approximate age
- Condition and room location
- Purchase or repair records, if you have them
Photograph serial numbers and labels. FEMA recommends recording large-appliance serial numbers. NAIC's home inventory tool organizes items by room with photos and export. Keep a separate list of items that look fine but may need cleaning or evaluation.
Preserve original files and create an evidence index
- Keep unedited originals with their device date and time intact
- Back up to at least two places
- Name files consistently, such as 2025-03-14_kitchen_ceiling-stain
Then build a simple index linking photos, videos, receipts, reports, and inventory lines, so the adjuster finds things quickly. Keep copies rather than relying on a link or email thread.
Consider an interactive spatial record for complex losses
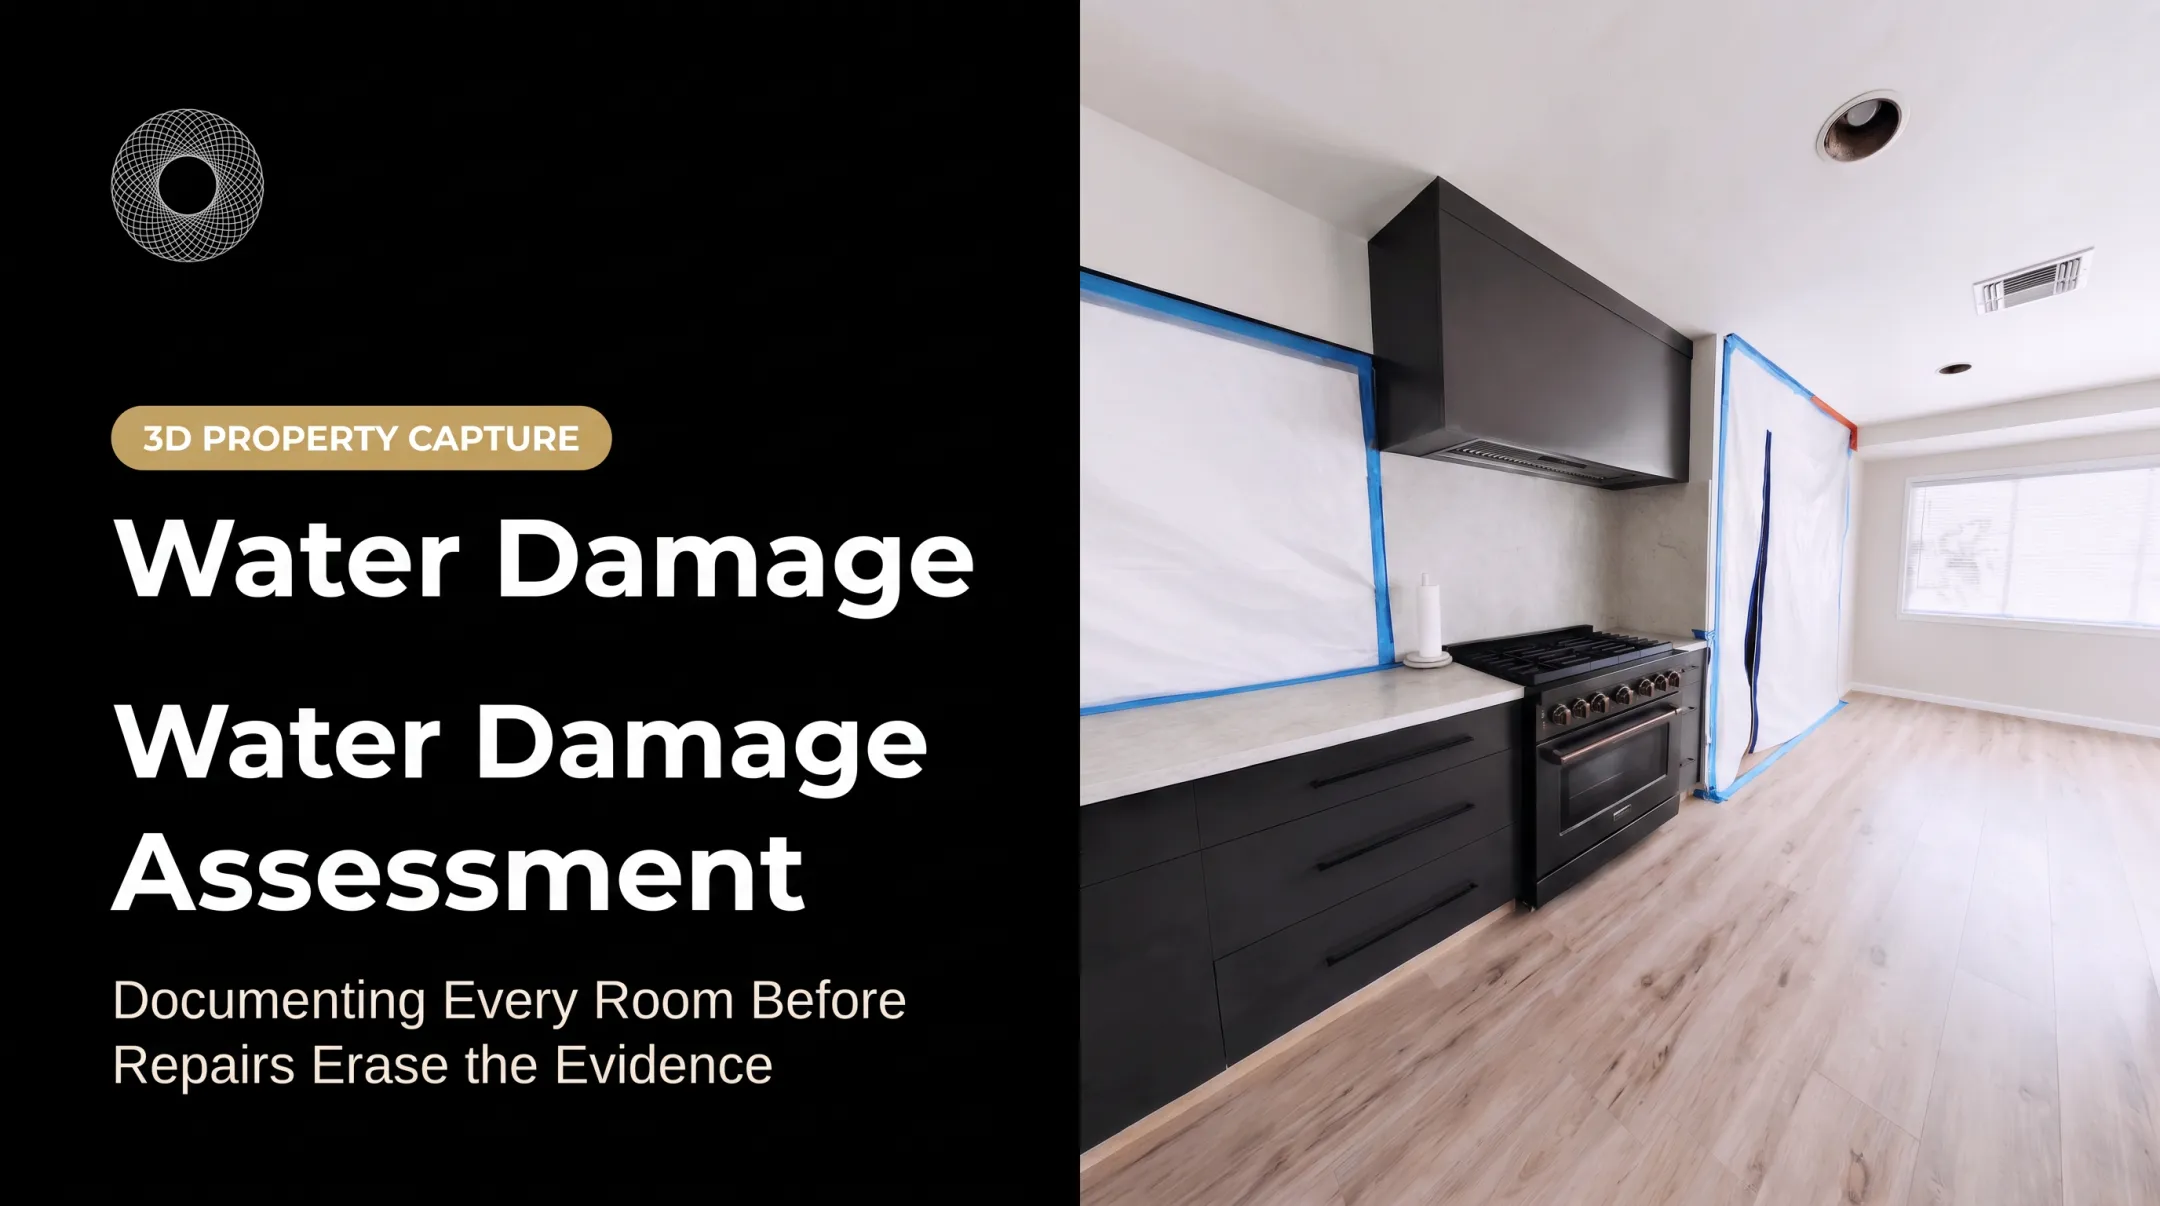
For large or multi-room losses, a 3D capture can supplement your photos. Vroomk offers on-site capture that produces a shareable, browser-based walkthrough with measurements and exportable stills, so owners, adjusters, and restoration teams can review the same conditions.
One customer reported the team arrived within a few hours after a ceiling collapse and scanned everything before the insurer's crew removed materials. The service area is Los Angeles, Orange, and Ventura counties, with emergency capture within 24 hours in the LA and Orange County areas.
A spatial record complements, not replaces, your original photos, video, inventory, and moisture records, or the insurer's own process. Confirm who can open a link before sharing sensitive property details.
Build an Adjuster-Ready Claim File
Gather policy, claim, and damage records
Assemble:
- Declarations page and claim number
- Timeline and source notes
- Photo/video index and contents inventory
- Contractor or restoration reports and repair estimates
- Mitigation invoices and receipts for reasonable emergency expenses
Texas DOI notes the declarations page summarizes coverage, limits, and deductibles. This checklist is a practical way to organize things, not a universal insurer requirement.
Review coverage questions without assuming the outcome
Coverage can hinge on cause, timing, exclusions, deductibles, limits, and your duty to mitigate. Texas DOI says most homeowners policies generally cover sudden, accidental water discharges, while gradual leaks and continuous seepage generally are not. Flood is usually excluded and needs a separate policy; sewer or drain backup is often a separate endorsement. Your actual policy controls, so ask the insurer to explain it in your case.

Track communications, instructions, and expenses
Log the date, representative's name, claim reference, instructions, appointments, and authorized work. Record every expense for protecting or temporarily relocating from the property. After important phone calls, ask for written confirmation, or send a short email summarizing what was said.
What to Do During the Adjuster's Visit
Prepare the property and evidence
- Provide safe access and secure pets
- Flag areas that can't be entered safely
- Keep your documentation packet or digital index at hand
- Organize temporary repairs, removed materials, receipts, and reports by room
Don't stage or exaggerate anything. NAIC advises being present for the inspection.
Explain the event using documented facts
Walk the property in logical order. Show where water was first seen, what you did to stop it, and which statements came from a plumber or restoration pro rather than your own observation.
Don't guess about coverage, assign blame, or minimize damage that isn't fully understood. If documents are still pending, say so.
Confirm what the adjuster inspected
Ask which rooms, components, contents, and moisture conditions were assessed. Request that hidden or inaccessible areas be noted for follow-up.
Clarify how items needing drying, testing, or specialist review will be handled as conditions change. California DOI's guide suggests raising possible hidden damage.

Ask clear process questions
- What are the next steps, and when will I get a written estimate or report?
- What documentation is still needed?
- How are additional damages found during drying handled?
- How do I submit supplemental invoices?
- Will the same adjuster stay on the claim, and how will reassignment be communicated?
Document the meeting and review before agreeing
After the visit, note:
- Adjuster's name and company
- Date and areas inspected
- Statements made and documents requested
- Agreed follow-up steps
Send a brief written recap.
An initial check is often an advance, not a final payment. Don't sign a release, accept a final settlement, or approve a permanent scope you don't understand. For complex or disputed losses, get qualified insurance, legal, or claims advice.
Summary
The sequence is simple:
- Protect people
- Stop further damage
- Document the original condition
- Preserve damaged property and records
- Organize the claim file
- Communicate in writing
A thorough record helps the adjuster evaluate the loss faster. Coverage and settlement still depend on your policy, the cause of damage, exclusions, and the evidence available.
Frequently Asked Questions
How does insurance work with water damage?
Coverage depends on your policy, the source, and the timing. Sudden, accidental discharges are commonly covered, while gradual damage and flooding are usually excluded. Review your policy and report the loss promptly.
What's the biggest mistake people make with an insurance claim?
Cleaning up or discarding damaged property before you document it, and failing to track expenses and communications. Still handle emergency safety and mitigation right away. Document first when you safely can.
What is an insurance adjuster?
An adjuster investigates the cause, scope, and estimated value of a claim. Staff and independent adjusters work for the insurer; a public adjuster represents the policyholder. Licensing rules vary by state.
What should I have ready for the adjuster's visit?
- Policy and claim numbers, plus your event timeline
- Original photos, videos, and a contents inventory
- Receipts, mitigation records, and repair estimates
- Notes on areas that may hide damage
Can I clean up or repair water damage before the adjuster arrives?
Do what's needed for safety and reasonable mitigation. Document the condition first when possible, keep damaged items, avoid permanent repairs, and follow your insurer's instructions.