Builders and owners share the same worries here: rework, schedule slips, quality, and arguments over what was actually built. What they often lack is one visual record of the walls while they were still open.
A 2018 FMI/PlanGrid report attributed 48% of US construction rework to poor data and miscommunication. This article covers what a pre-drywall inspection and scan capture, how they protect both sides, what happens when the step is skipped, and how to turn the record into action.
Key Takeaways
- Pre-drywall inspections review accessible rough-in work before it is concealed.
- 3D scans preserve room-by-room context and measurements you can revisit after close-in.
- Early findings let builders fix issues before finishes and let owners verify locations.
- Treat a scan as evidence, not a substitute for a qualified inspector, code review or permit approval.
What Is a Pre-Drywall Inspection and Scan?
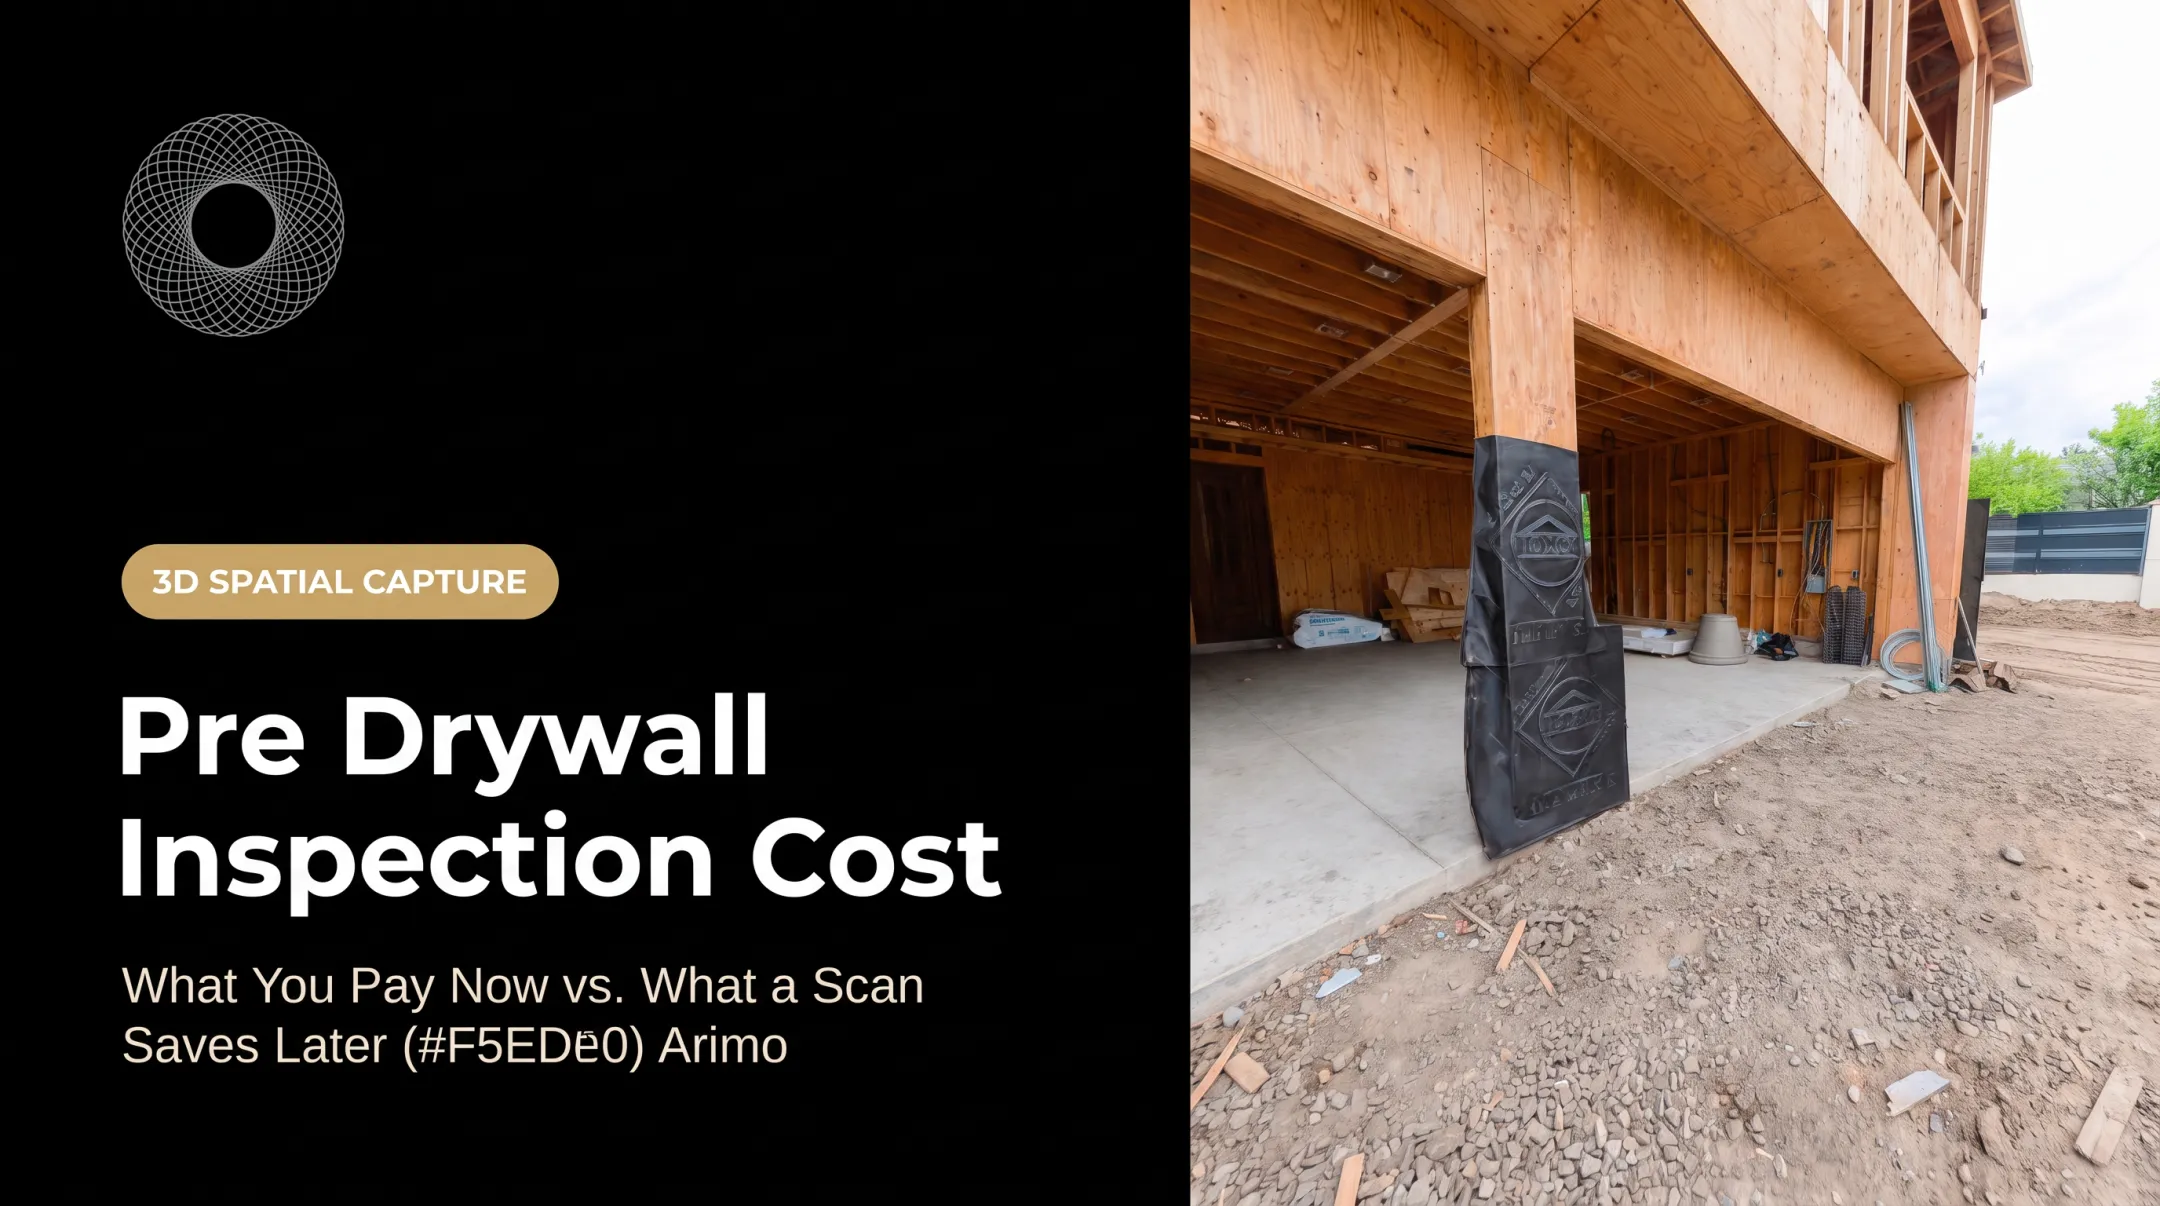
A pre-drywall inspection is a construction-stage review done after key rough-in work is installed and before drywall or other finishes cover the walls and ceilings. Depending on scope, it can cover framing, electrical, plumbing, HVAC, insulation, fireblocking, waterproofing, openings and supports.
Two different things happen at this stage:
- The inspection evaluates workmanship, installation, safety and project or code requirements.
- The scan creates a visual and spatial record of accessible conditions, locations and relationships for later reference.
Private inspection versus code inspection
Municipal inspections and private inspections are separate services. The 2024 IRC places rough plumbing, mechanical, gas and electrical inspections before concealment. A private inspection is a non-invasive visual review of accessible areas. ASHI's standard states it does not confirm code compliance.
Scope also varies on insulation. Some inspectors review before it goes in, others after, and insulation can hide components. Agree on timing and scope in writing before the visit.
Key Advantages of a Pre-Drywall Inspection and Scan
The strongest process pairs a qualified inspection with consistent spatial documentation, written findings, photographs, named responsible parties, and confirmation that corrections were finished. Together they catch problems while walls are open, keep every party on the same record and leave a reference after close-in.
Find and correct problems before close-in
Exposed work shows problems that disappear behind drywall:
- Unsupported or misplaced pipes
- Poorly secured or sealed ductwork
- Missing nail plates and incorrectly located boxes
- Framing damaged by drilling or notching
- Incomplete firestopping and insulation gaps
- Missing backing for cabinets or fixtures
Fixing these now means less demolition, fewer finish repairs and clearer change-order talks. The benefit is largest on multi-trade jobs, custom layouts, renovations, accelerated schedules and projects with late design changes.
Track open items at close-in, rework hours, corrections completed and repeat visits. Late-discovery cost impact varies by job, so measure your own results rather than relying on a generic multiplier.
Create a shared record for coordination and accountability
A room-by-room scan ties an issue to a specific wall, ceiling, opening or route. Builders, owners, inspectors, subs and insurers can all look at the same thing.
Vroomk provides this kind of record: a private, shareable interactive walkthrough with measurements and exportable stills.
One contractor told us subs used to ask for photos of the same corner five times. Now he sends a link, and inspectors open it on site.
Matterport's Wesbuilt case study describes requests for information generated from a scan, with tags supplying location and context. It does not measure dispute outcomes, and a scan is not a code certification.

This matters most with remote stakeholders, frequent trade handoffs, ownership changes or disputed conditions.
Preserve future reference after walls close
Documented wiring routes, plumbing paths, blocking and penetrations help future service providers avoid exploratory cuts. Swinerton reported using dimensions from an earlier scan to locate hub drains without tearing down a wall.
A remodeling user of a Vroomk rough-in scan likewise found every wiring run and avoided cutting finished walls.
That record also supports maintenance, renovations, insurance claims, warranty conversations and defect coordination. It is most valuable for long-lived properties, custom builds and homes likely to change.
One limit: a scan shows observed conditions. It does not prove every concealed component was installed correctly or replace later testing.
What Happens When the Inspection or Scan Is Missing or Ignored
Hidden defects and layout conflicts often surface only after drywall, paint, cabinetry, or flooring make access harder. Late discovery brings:
- Exploratory openings and patching
- Schedule delays and change-order disagreements
- Repeated coordination among owners, builders, and trades
- Arguments over what was present, changed, or corrected, with no dated, location-specific record
- Guesswork on routes for future service work
A CFC case study shows the stakes. In an anonymized apartment case, tenants reported leaks tied to drain-line joint failures. The initial demand included $870,000 for plumbing issues, and the claim settled for $400,000.

The case doesn't show that missing scans caused the loss, and it isn't a typical cost benchmark. It does show how expensive late-found plumbing problems can get.
How to Get the Most Value from a Pre-Drywall Inspection and Scan
The process works when it is timed correctly, captured systematically, reviewed by the right people, and tied to corrective action, not filed away.
Prepare the site and define scope
- Schedule after rough-ins are complete and before concealment
- Confirm access, plans, change orders, trade responsibilities and safety rules
- Check local inspection and permit milestones, since stages vary by jurisdiction
- Plan separate visits if insulation or wet-area tests happen later
Capture consistently
- Work room by room, recording walls, ceilings, openings, equipment, routes and labels
- Pair the scan with photographs, written notes, plans and the capture date
- Repeat scan positions at each milestone so stages can be compared
Review and act on findings
- Assign each issue to a responsible party with the required fix and priority
- Share the evidence with stakeholders
- Complete a follow-up review before close-in
Retain and control the record
Store the report and spatial record in a permission-controlled location. Builders and owners then work from the same record for service, claims, warranty questions and disputes.

Conclusion
The value of pre-drywall inspection and scanning is visibility before close-in, correction while access exists, and a clearer record for everyone responsible for the project.
Treat scanning as part of an ongoing quality-control process. It does not replace a qualified inspector, and it does not guarantee concealed construction quality.
Frequently Asked Questions
How much does a pre-drywall home inspection cost?
Pricing varies with property size, location, complexity, inspector qualifications, scope, travel and reporting. It also depends on whether scanning is included. Ask for an itemized quote.
What should be included in a drywall inspection checklist?
Cover framing, electrical, plumbing, HVAC, insulation, firestopping, waterproofing, openings, supports and visible defects. Add photographs, corrective actions, responsible parties and follow-up confirmation.
How long does a pre-drywall inspection usually take?
It depends on size, number of systems, accessibility and documentation level, plus whether a scan happens alongside. Ask your provider for a site-specific estimate.
Do I need a drywall inspection?
Consider one whenever important work is about to be concealed. Requirements and local processes vary, but a qualified review while walls are open is hard to replicate later.
What is the first thing an inspector wants to see?
Safe, timely access to the exposed construction. They also need plans, project scope and relevant changes before judging specific systems.
What is a post-inspection?
A post-inspection is a review after a construction stage or after drywall goes up. It confirms workmanship, finished conditions and whether earlier findings were corrected. Exact scope depends on the project.