Introduction
Once a ceiling is patched or a wet wall is torn out, the evidence is gone. A thin record leads to claim delays, scope disputes, repeat site visits and missed hazards.
Homeowners file roughly 5.53 property damage claims per 100 house-years, according to Triple-I data. Each one depends on someone proving what the property looked like before work started.
This guide shows how to build a complete record of what was visible, where it was, and how severe it looked. You'll get three capture methods, interpretation guidance and safety precautions.
Key Takeaways
- Capture overview, mid-range and close-up evidence, not isolated damage shots.
- Note damage type, location, material, size, date and pre-existing conditions.
- Pick photos, narrated video or 3D based on access, urgency and detail needed.
- Keep original files and leave cause and coverage conclusions to professionals.
What You Need to Capture Property Damage Before Repairs
A reliable record combines visual evidence, written notes, spatial context and supporting documents. It is documentation, not an insurance, engineering or legal determination. Even under the NFIP, the adjuster cannot approve or deny a claim from inspection alone.
Tools and Evidence Required
- Charged phone or camera, plus a spare power bank
- Flashlight and a tape measure or object of known size
- Notebook or digital checklist, and room labels
- Protective gloves, footwear and eye protection suited to the hazard
- Secure, backed-up file storage
Supporting records help establish timing: maintenance logs, prior inspection reports, receipts, weather records, emergency-service records and repair estimates. For water events, the source, date and time of intrusion, building age and earlier water damage all matter.
Preconditions and Setup
Check safety first. Confirm access is safe, lighting is adequate, utilities are accounted for, and nobody is exposed to moisture or electrical hazards. Leave an area untouched if an adjuster or specialist is due.
Then fix your baseline details before shooting:
- Inspection date and property or unit identifier
- Affected rooms or exterior elevations
- A consistent route through the property
Define the Scope and Baseline
Record damaged areas and representative undamaged ones. Note pre-existing defects, temporary protection (tarps, fans) and anything that changed after the incident.
Keep observations separate from assumptions. "Brown staining, 3 ft wide, on the ceiling drywall" is an observation. "The roof caused it" or "this is covered" is not yours to state.
Methods to Capture Property Damage Before Repairs
Three methods work. The right one depends on property size, urgency, lighting, access, precision needed and how many people must review the record later.
Method 1: Room-by-Room Photo Record
A structured photo sequence gives you a still-image record from whole property down to small details. You need a camera or phone, steady light, a scale reference, area labels and a checklist so you don't skip closets, elevations or mechanical areas.
- Orient. Shoot the property, the room or elevation, the access point, and how the damage relates to walls, floors, ceilings and fixtures.
- Move closer. Take mid-range shots tying damage to its surroundings, then close-ups from several angles. FEMA's checklist calls for an object of known size to show scale.
- Log it. Note location, material, condition, approximate size, date and time, and whether the image shows original damage, mitigation or repair.

Pros: Easy to store, review and attach to claim files. Cons: Photos can miss depth, room-to-room relationships, hidden conditions and the order you documented things.
Method 2: Narrated Video Walkthrough
A continuous walkthrough shows how spaces connect and how defects relate to one another. Insurers such as Farm Bureau suggest describing items while filming. You need a phone with storage, steady movement, good light and a written route.
- Open with the basics. State the property identifier, date, area and purpose. Skip statements about fault or coverage.
- Move slowly. Go from wide context to individual damage. Pause on details and narrate what you see: location, material, moisture, debris, cracking, displacement.
- Save smart. Keep the original, use a descriptive filename, and pair key clips with stills, measurements and notes.
Pros: Preserves sequence and context quickly. Cons: Fast panning, dim light, mumbled narration and big files make review harder, and video lacks precise close-ups.
Method 3: Interactive 3D Spatial Walkthrough
An interactive 3D capture gives stakeholders a walkable record they can revisit after repairs, without returning to the site. You need a compatible capture device or mobile workflow, good light, a clear path, secure storage and a way to export stills and measurements.
- Prepare the route. Open accessible spaces, flag unsafe or restricted areas, and decide which rooms, surfaces and adjacent spaces must be covered.
- Capture continuously. Avoid blocked views, rushed movement, reflective obstructions and unexplained gaps.
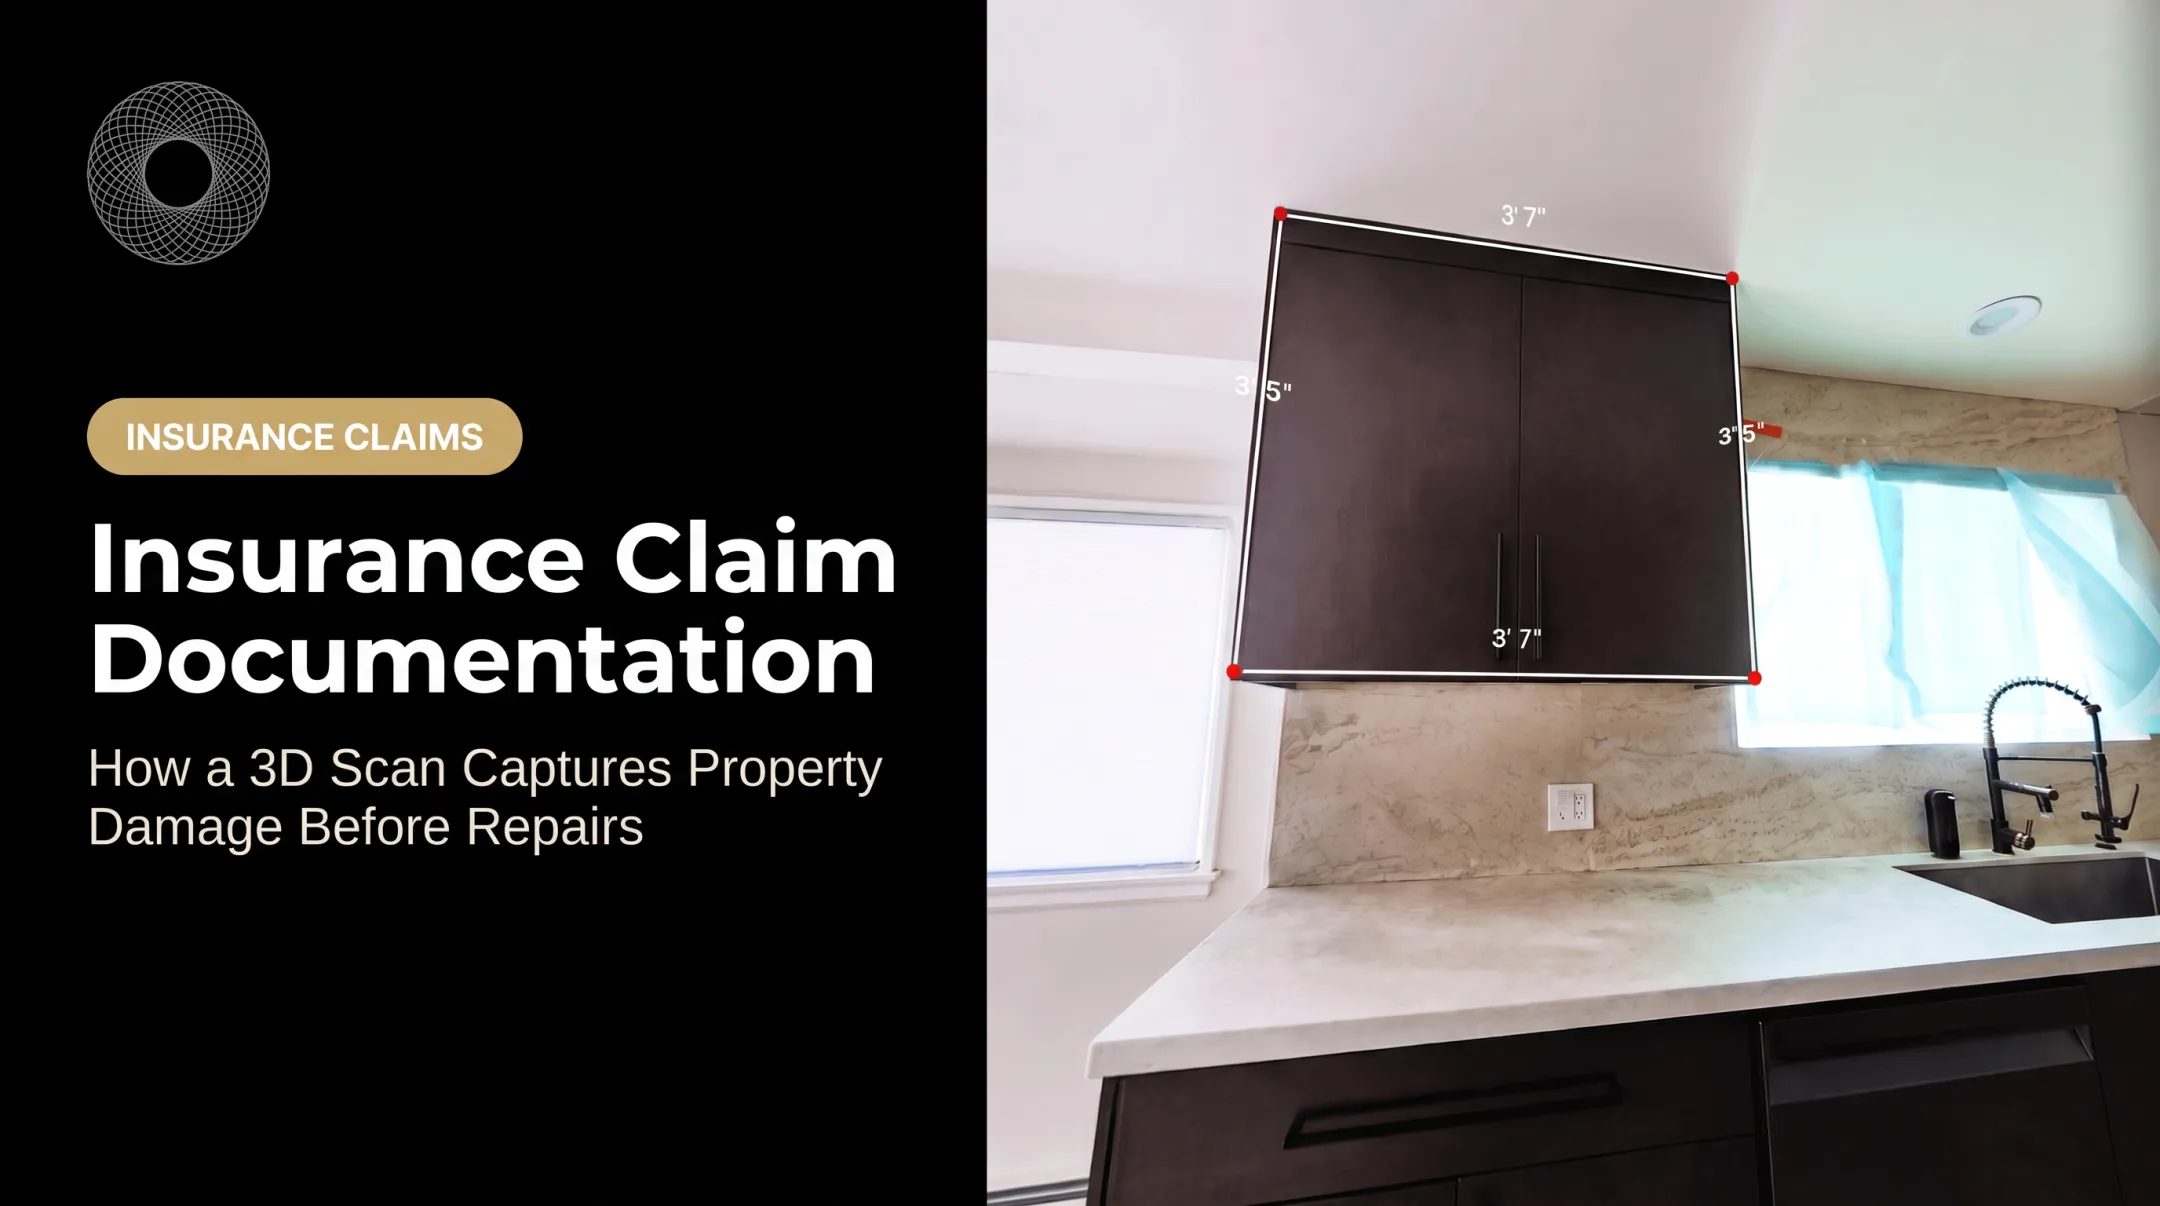
- Tag and share. Note key areas, take measurements, export images and give authorized parties a private link.

Pros: Walkable spatial context, easy revisits after repairs, in-space measurements and private sharing. Cons: Needs compatible equipment, decent capture conditions and privacy controls. Accuracy also varies by device and space size.
A 2023 smartphone LiDAR study found deviation under 5 cm for 78% to 89% of points depending on environment, with accuracy dropping as scanned areas grew.
Vroomk offers interactive spatial documentation, private shareable links and image exports for this approach. Spatial capture starts at $1.50 per square foot, with emergency capture available within 24 hours in the Los Angeles and Orange County areas.
How to Interpret the Results
Your record should answer four questions:
- What happened to which visible materials
- Where the damage is
- How extensive it looks
- What happens next
Ambiguous records invite delays and repeat visits.
Normal or Acceptable
Label areas with no visible damage, conditions consistent with documented wear, and spaces you couldn't access. "No visible damage" is not proof that concealed damage is absent.
Minor Issues
Localized, nonurgent conditions need clear boundaries and context. Compare them with nearby unaffected material and recommend monitoring, maintenance, or targeted evaluation. Don't overstate the likely cause.
Significant Findings
Stop and protect people and property if you see:
- Active water intrusion or spreading deterioration
- Major displacement or structural warning signs
- Exposed wiring
- Unsafe floors or ceilings
- Anything blocking safe access
Refer these to the right qualified professional. Timing matters for water, too: EPA says that when materials are dried within 24 to 48 hours, mold won't grow in most cases.

Action and Handoff
Sort findings into:
- Immediate safety action
- Emergency mitigation
- Specialist evaluation
- Repair scope
- Follow-up documentation
The record supports decisions. It doesn't determine coverage, liability, or final cost.
A secure Vroomk spatial record gives owners, adjusters, contractors, inspectors, and attorneys a common reference. One customer reported that a ceiling-collapse site was scanned within hours and the link shared in two days, before the insurer removed the damaged materials.
Common Errors and Safety Best Practices
Most failures come from omissions, unclear context, unsafe access or disturbing the site too early. Expensive gear isn't the issue.
Common Documentation Errors
- Taking only close-ups, or only the worst spot, with no room-wide context
- Inconsistent file names, missing dates, unclear scale, duplicate images
- Relying on edited, cropped or compressed copies instead of originals
- Cleaning, moving, cutting into or repairing materials before documenting them
Safety and Best Practices
- Don't enter areas with suspected instability, electrical hazards, contaminated water, fire damage, gas, or hazardous materials until an inspector confirms it's safe (CDC guidance).
- Wear PPE suited to the hazard, keep a stable stance and keep occupants out.
- If mitigation can't wait, document first when safe, then record what you moved or removed.
- Keep damaged materials when practical, and save invoices and work orders.
- Check insurer instructions, local rules and privacy obligations before relying on the record in a formal claim or legal matter.
Conclusion
A reliable inspection record has systematic coverage, clear location and severity notes, original files, and enough spatial context for a stranger to understand the condition without visiting.
Use it to guide safety decisions, mitigation, specialist referrals, repair scopes, and later comparisons. Avoid unsupported conclusions about cause, coverage, or liability.
Frequently Asked Questions
Why would my insurance company want to inspect my house?
To verify the reported condition, assess scope, separate new damage from pre-existing conditions and decide next steps under the policy. An inspection doesn't guarantee coverage.
What should I photograph before making repairs?
Shoot wide property and room views, mid-range context and close-ups with a scale reference. Add adjacent undamaged areas, damaged materials, temporary mitigation and any visible source or pathway.
Should I repair emergency damage before the insurance inspection?
Take urgent steps to protect people and prevent further damage. Document first when safe, and record removed materials, work done and receipts.
Is video enough to document property damage?
Video captures sequence and context well, but add still photos, measurements, written location notes and original files for important details.
How do I document pre-existing damage?
Label visible prior wear or repairs separately from the reported incident and compare nearby conditions. Add dated inspection reports, photos or maintenance records if you have them.
What information should a damage inspection report include?
Property identifier, date, affected locations, damage type, materials, dimensions, photo or video references, access limits, safety concerns and mitigation performed. Keep observations separate from recommendations.