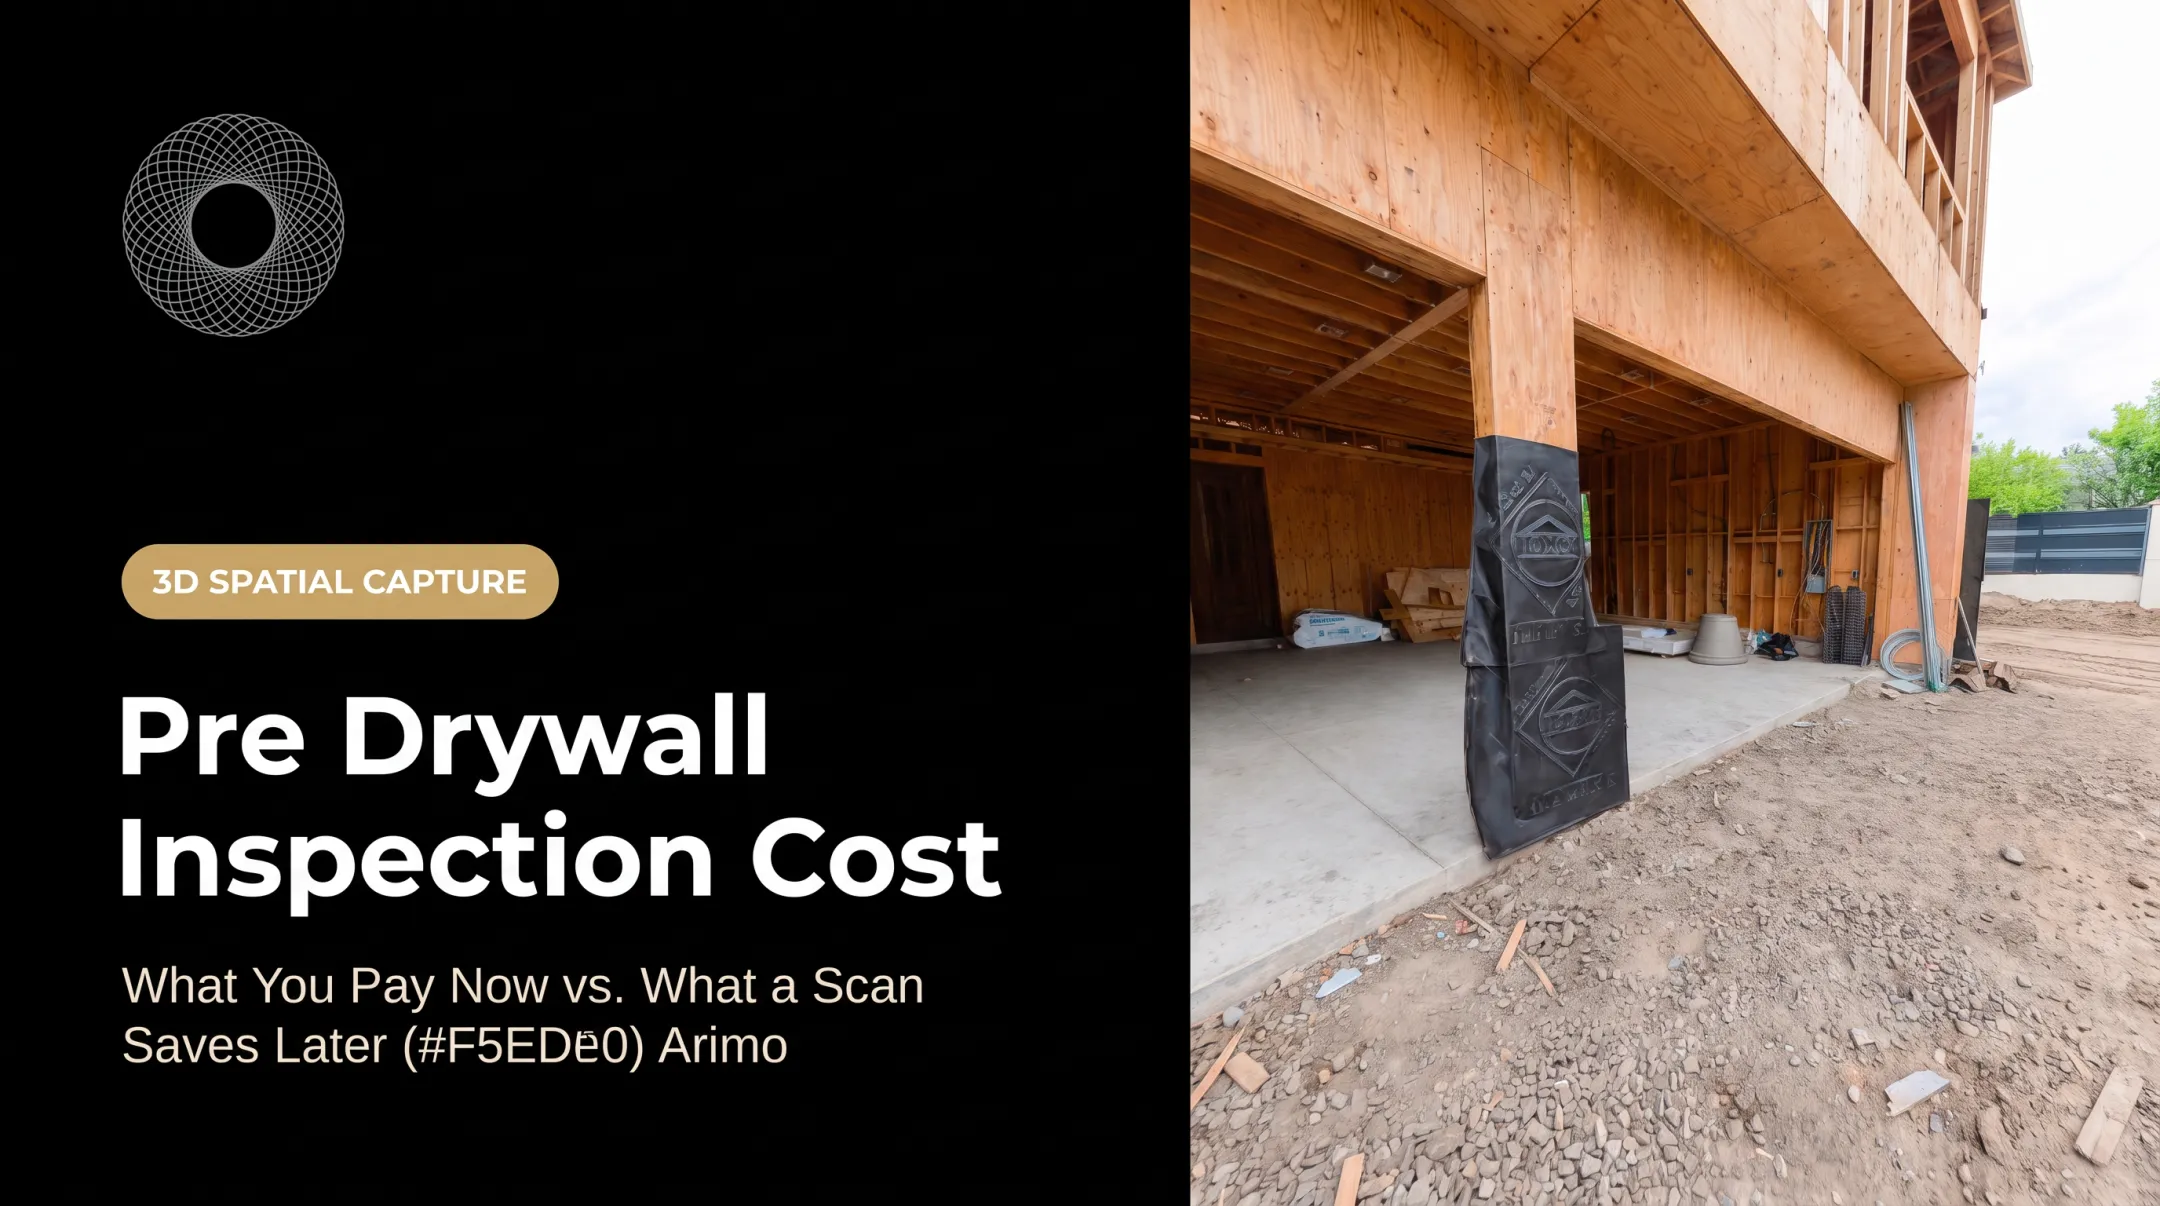
Introduction: Why Scan Before the Rock Goes Up
Once drywall goes up, you lose sight of the framing, wiring, plumbing, ductwork, blocking, and firestopping behind it. Verifying any of it later means cutting into finished walls.
In this article, "pre-rock drywall walkthrough" means a review and scan done before gypsum panels are installed. It is not the same as "pre-rocking," which USG's white paper uses for hanging drywall early, before the building is weather-tight.
Below is a room-by-room process: prepare, check framing, check MEP, log issues, and confirm corrections before close-in. A digital scan supplements licensed inspections and authority signoffs. It never replaces them.
Key Takeaways
- Walk the job after rough-ins are substantially complete but before insulation or drywall.
- Compare what you see against the latest plans for every discipline.
- Log each issue with location, plan reference, image, trade, and status.
- Archive the final walkthrough for future service, insurance, or disputes.
What a Pre-Rock Drywall Walkthrough Covers
A pre-rock drywall walkthrough is a quality-control and documentation step. The team checks concealed conditions while walls are still open:
- Framing, openings, and backing
- Penetrations and firestopping
- Electrical, plumbing, and HVAC
- Other conditions that disappear once rock goes up
Different parties own different records. Mixing them up is where projects get into trouble.
| Review type | Who owns it | What it does |
|---|---|---|
| Contractor coordination review | General contractor | Coordinates trades and sequencing |
| Independent pre-drywall inspection | Home or construction inspector | Documents visible, accessible components per ASHI's standard; excludes code conformance |
| Code inspection | Authority having jurisdiction (AHJ) | Approves work before concealment |
| 3D spatial record | Capture provider | Preserves visible conditions |
Code edition, fire-rated assembly requirements, permits, and inspection sequence vary by state and AHJ. Build the walkthrough around your project specifications, the adopted US code edition, and your local inspector, not a universal checklist.
How to Prepare and Sequence the Walkthrough
Review the Latest Project Information
Gather the current drawings and related documents:
- Architectural, structural, and reflected ceiling plans
- Electrical, plumbing, HVAC, and low-voltage drawings
- Firestopping and equipment plans
- Approved submittals, RFIs, change orders, and room finish plans
Then plan a room-by-room route. Flag high-risk spots first:
- Wet rooms and kitchens
- Shafts and rated walls
- Utility and equipment rooms
- Exterior walls
- Locations needing future mounting or access
Coordinate the Team and Approval Process
Invite key stakeholders:
- General contractor and superintendent
- Relevant subcontractors
- Owner's representative
- Designer or inspector when applicable
Decide up front who can approve corrections and who must sign off by trade.
Set a documented hold point. Assign unresolved framing, MEP, backing, penetration, or firestopping issues before insulation or drywall proceeds. Under the 2024 IRC, trade rough inspections come before the framing inspection, so your hold point should sit alongside the AHJ's schedule.
Confirm Site Readiness and Safe Access
Before you walk, confirm:
- Rough-ins and framing changes are substantially complete
- Temporary lighting and safe access are in place
- Debris is clear of sight lines
- Weather exposure will not damage materials
Note anything that limits visibility, such as insulation, temporary coverings, or closed cavities. Record the limitation. Don't imply a hidden area was verified.
Establish a Consistent Capture Method
Use the same room names, grid references, and issue numbering throughout. Shoot wide views first, then close-ups of defects, penetrations, labels, and dimensions.
Get permission before recording people, private information, or confidential material. Follow site safety rules, and never move, disconnect, or energize building systems to get a better view.
How to Scan Framing Before the Rock Goes Up
Verify Layout and Dimensions
Compare wall locations, room dimensions, openings, ceiling heights, soffits, chases, and bulkheads against the plans. Document each deviation with a location and reference dimension.
Watch for conditions that hurt finishes later: misaligned openings, framing that collides with ducts or pipes, and walls where a flat drywall plane isn't achievable.
Review Framing Condition
Look for damaged, bowed, missing, or misplaced studs, plates, joists, headers, connectors, and bracing. Send structural questions to the responsible engineer. Don't make the call yourself.
Field notches and holes deserve a close look. The 2024 IRC sets benchmarks, for example:
- Bearing or exterior studs: notches up to 25% of depth, holes up to 60% (R602.6)
- Solid-sawn joists: notches no deeper than 1/6 of depth, and none in the middle third of the span
- Engineered members: alterations need manufacturer permission or a design professional's review
Compare any questionable cut with approved details and structural direction before closing the wall.
Check Backing and Support
Confirm blocking for cabinets, handrails, grab bars, wall-mounted fixtures, TVs, shelving, and equipment. Where ADA scoping applies, grab bars must withstand 250 lb of force, so the backing matters.
Record the room, wall, elevation, and dimensions of every piece of backing. Finish crews can then find it without opening the wall.
Inspect Fire, Draft, and Rated-Assembly Details
Review fireblocking, draftstopping, firestopping, shaft enclosures, head-of-wall conditions, and rated partitions against the approved assembly. UL treats firestopping as a complete system, not just sealant, so substrate, penetrant, and annular space all count.
Flag anything missing, damaged, or incomplete, and have the responsible trade or inspector resolve it before concealment. A visual scan does not confirm a rated assembly.
Document Conditions That Cause Rework
Capture water staining, corrosion, missing nail plates, unfinished penetrations, and tight clearances. Open an issue for anything needing correction or clarification, then plan a targeted re-scan before drywall.

How to Scan MEP Rough-Ins Before Drywall
Electrical and Low-Voltage
Check these items against the electrical and technology plans:
- Panels, junction boxes, receptacle and switch boxes
- Lighting outlets, disconnects, and low-voltage pathways
Document box heights, wire paths, junction access, and protection plates. Note conflicts with doors, cabinets, plumbing, or HVAC.
The electrical trade verifies installation and testing. Your scan shows what was visible.
Plumbing
Capture routes through framing and between floors, plus:
- Supply, drain, waste, and vent lines
- Gas piping, cleanouts, valves, and access panels
Look for support, protection, clearance, and any leak or moisture evidence.
Testing is a separate record. The 2024 IRC prohibits concealing plumbing before testing and approval, and requires a DWV water test held 15 minutes. Log test status, but never claim photos prove performance.
HVAC and Mechanical
Document duct routes, boots, registers, equipment, refrigerant or hydronic lines, condensate provisions, and service clearances.
Flag any duct, pipe, or access need that collides with framing, lighting, cabinets, or rated assemblies. Images of sealed duct joints are not leakage-test results.
Cross-System Coordination
Crowded zones cause the most surprises: chases, soffits, mechanical rooms, kitchens, bathrooms, and ceiling plenums. Watch for:
- Crossings and buried valves
- Blocked cleanouts and compressed ducts
- Missing supports
Record unresolved clashes as assigned issues. Verbal agreements disappear.
Preserve Routes and State the Limits
Capture wide views and close-ups of box locations, valves, cleanouts, and penetrations. Tie dimensions to permanent features like corners, doors, and columns, not temporary marks.
State plainly what the record shows: visible installation only, any areas already obstructed, and whether tests or inspections happened separately. Re-scan anything that changes after the walkthrough.

How to Turn the Walkthrough Into an Actionable Record
Build an Issue Log
Every finding gets:
- Issue ID and room or grid location
- Discipline and description
- Priority and plan reference
- Supporting image or scan view
- Responsible trade, target date, and status
Keep completed corrections separate from open design questions, owner decisions, and access limitations.
Use an Interactive Spatial Record
Vroomk provides on-site 3D capture of rough-in and framing conditions, delivered as a private, browser-based walkthrough. Authorized people can revisit rooms, measure lengths, heights, and areas, and export stills without returning to the site.
One remodeling customer reported that a rough-in scan located every wiring run, helped them avoid cutting finished walls, and saved thousands in repairs.
Pricing starts at $1.50 per square foot.
Treat the walkthrough as a supplement to drawings, inspection reports, permits, test results, and trade signoffs. It does not prove code compliance on its own.
Close the Loop Before Drywall
- Re-scan corrected areas and link the new evidence to the original issue
- Confirm fixes didn't create new conflicts with framing, insulation, or other trades
- Archive the original files, notes, plan versions, correction history, permissions, and signoffs in one controlled place

That archive supports future service work, insurance coordination, and dispute review.
Frequently Asked Questions
What does "pre-rock drywall" mean?
A pre-rock drywall walkthrough is the site review done before drywall goes up. "Pre-rocking" can also describe installing gypsum panels early in the construction sequence, before the building is weather-tight.
What are the three types of drywall?
Common categories are standard, moisture- or mold-resistant, and fire-resistant (Type X). They overlap: Gypsum Association lists moisture-resistant Type X and Type C panels. Follow the project specification.
What should be checked during a pre-rock walkthrough?
Framing and openings, blocking, penetrations, firestopping, electrical, plumbing, HVAC, low-voltage systems, and access needs. Also record what the scan couldn't see.
When should MEP rough-ins be scanned before drywall?
After rough-ins and design changes are substantially complete, but before insulation or drywall hides them. Capture again after significant corrections.
Can a 3D scan replace a pre-drywall inspection?
No. A scan preserves visible conditions and helps coordination. It doesn't replace a qualified inspection, trade testing, code review, or permit inspection.
How should pre-rock documentation be shared?
Use a controlled private link or project archive with room labels, issue IDs, plan references, and access permissions. Keep original files, and separate open issues from verified corrections.